FC 27 Budget Alternatives by Position: A 10K to 100K Coin Squad Upgrade Route

Building an effective Ultimate Team squad in EA SPORTS FC 27 does not require spending your entire balance on one expensive Player Item. A better approach is to use your FC 27 Coins across several upgrade stages, fixing the positions that cause the most problems before moving on to less urgent improvements. This guide covers a practical route from around 10K to 100K, using attributes, PlayStyles, positions, roles, chemistry, and current Transfer Market listings to decide where each upgrade should go.

Start With the Position That Needs the Upgrade

The first step is not searching for the highest-rated card you can afford. Play several matches with your current squad and identify where the team is consistently struggling. If your centre-backs cannot recover against fast attackers, upgrading the striker will not solve the defensive problem. If your midfield struggles to move the ball forward, buying another winger may have little impact.

FC 27’s official ratings database lets you compare individual attributes instead of relying only on Overall Rating. Check the player’s position, Pace, Shooting, Passing, Dribbling, Defending, Physical, PlayStyles, and alternative positions before making a decision.

Before spending, check:

  • Position: Make sure the Player Item fits the role you need.
  • Pace: Important for defenders covering space and attackers running behind the line.
  • Passing: Especially useful for midfielders and possession-focused players.
  • Dribbling: Helpful for players who receive the ball under pressure.
  • Shooting: Prioritize attributes that match your attacking style.
  • Defending and Physical: Important for defensive roles.
  • PlayStyles: Look for options that support the player’s intended role.
  • Chemistry: Check how the replacement fits your existing squad.
  • Market price: Compare current listings before buying.

The 10K Stage: Repair the Weakest Positions

A 10K budget is best used for targeted improvements rather than one oversized purchase. Look for players with attributes that directly solve a weakness in your formation.

A faster centre-back can help if your defensive line regularly leaves space behind it. A midfielder with stronger passing can be more useful than a higher-rated player who does not fit your style.

10K upgrade order

  1. Identify the position that repeatedly loses individual battles.
  2. Fix obvious defensive weaknesses if they are costing goals.
  3. Add a midfielder who can retain or progress possession.
  4. Improve an attacking position if chance creation or finishing is the problem.
  5. Keep part of the balance for another opportunity.

Do not assume that a particular player permanently belongs to the 10K category. Transfer Market prices change, so budget ranges should be treated as spending stages rather than fixed player prices.

The 20K to 30K Stage: Strengthen the Central Spine

At approximately 20K to 30K, focus on positions that influence several phases of play. Central midfielders and centre-backs are often more involved than players who contribute mainly during specific attacking situations.

First decide what the midfield is missing. A defensive midfielder needs a different profile from a creative midfielder, while a box-to-box player needs to contribute in both possession and defensive phases.

Current problemPlayer profile to search for
Losing possession centrallyBetter passing and ball control
Conceding through the middleStronger defending and physical attributes
Struggling to progress possessionPassing and mobility
Attackers receiving poor serviceCreative passing and dribbling
Midfield being bypassedDefensive contribution and physical ability

Alternative positions can also provide useful flexibility at this stage, especially when you do not have enough coins to build separate specialists for every role.

The 40K to 50K Stage: Match the Player to the Role

At 40K to 50K, make your purchases more specific. Instead of asking which card has the highest Overall Rating, identify the job the player needs to perform.

A CAM linking midfield with the attack needs a different profile from a winger attacking open space. A defensive midfielder protecting the centre-backs should also be evaluated differently from an attacking CM.

Compare players according to their roles:

  • CAM: Passing, Dribbling, Ball Control, and attacking qualities
  • CM: Passing, mobility, ball retention, and defensive contribution
  • CDM: Defending, Physical attributes, passing, and positioning
  • Winger: Acceleration, Sprint Speed, Dribbling, and finishing
  • ST: Finishing, attacking movement, Pace, and Ball Control
  • CB: Pace, Defending, Physical attributes, and defensive suitability
  • Full-back: Pace combined with the attacking or defensive qualities required by your tactics

PlayStyles should also be considered. They do not automatically make one card better, but they can make a player more suitable for a specific role.

The 60K to 80K Stage: Replace One Major Weakness

With 60K to 80K available, concentrate the larger investment on one position that has remained problematic. A bigger budget does not mean every starter needs to be replaced.

For attackers, compare attributes according to how your team creates chances. A forward receiving through balls needs a different profile from one who often receives with their back to goal. A striker involved in combination play may need stronger technical attributes, while a player attacking space may place greater importance on Pace and movement.

The same principle applies defensively. If your full-backs push forward and leave the centre-backs exposed, recovery ability becomes more important. If your midfield already provides strong defensive cover, you can prioritize other qualities.

Make the larger purchase when:

  • The current starter has a clear weakness.
  • The replacement directly addresses it.
  • The new player fits your formation and role.
  • The upgrade does not leave another position severely underpowered.
  • The chemistry impact has been checked.
  • Enough coins remain for future squad changes.
  • The 100K Stage: Distribute the Budget Across the XI

A 100K budget can provide a strong foundation, but there is no need to spend most of it on one premium Player Item. Divide the budget according to how often each position affects your matches.

Start with a dependable defensive structure and midfield base, then spend more on attacking positions if those areas are limiting your chance creation.

100K Allocation Guide

  • Goalkeeper: Choose a reliable option without overspending.
  • Centre-backs: Prioritize recovery ability and defending quality for your setup.
  • Full-backs: Choose them according to their attacking or defensive responsibilities.
  • Midfield: Include at least one reliable player for possession, progression, or defensive cover.
  • Attack: Prioritize Pace, Dribbling, finishing, or other attributes that match your approach.
  • Reserve: Keep some coins available for future upgrades and market changes.

The goal at this stage is balance. One expensive attacker cannot compensate for several positions that consistently lose possession or concede space.

Check the Transfer Market Before Buying

A budget guide should not be treated as a permanent price list. Transfer Market prices can change according to demand, making 10K, 30K, 50K, 80K, and 100K more useful as spending stages than fixed guarantees for individual players.

Before buying, compare several candidates at the same position. Look at their attributes, role suitability, PlayStyles, chemistry, and current listings. If two players provide a similar function and one costs considerably less, keeping the difference can help strengthen another weak position.

Simple market routine

  1. Set your maximum spending limit.
  2. Filter for the required position.
  3. Compare several players with similar roles.
  4. Check the attributes that matter for your formation.
  5. Review PlayStyles and alternative positions.
  6. Check chemistry with your existing XI.
  7. Compare current listings before buying.

Keep the Upgrade Cycle Moving

After each purchase, play enough matches to see whether the new card actually solved the problem. If it works, keep the player and move to the next weak position. If the improvement is small, reassess the role, formation, chemistry, and attributes before making another expensive purchase.

Continue building your balance through legitimate Ultimate Team activities and Transfer Market transactions. EA allows players to earn Coins through permitted Ultimate Team activities, rewards, and selling tradeable Items on the Transfer Market.

Players searching for FIFA 27 Coins for sale should also understand that the official game title is EA SPORTS FC 27 and that EA does not allow players to purchase Ultimate Team Coins from third parties. Coins should instead be earned through permitted Ultimate Team activities and legitimate Transfer Market transactions.

As your balance increases, repeat the same process instead of rebuilding the entire squad at once. Identify the weakest position, define the role you need, compare affordable candidates, and spend only when the replacement provides a meaningful improvement. Moving through the 10K, 20K to 30K, 40K to 50K, 60K to 80K, and 100K stages gives you a practical framework for gradually building a more balanced FC 27 Ultimate Team squad. 
NBA 2K27 Pro-Am Defense Guide Strong Side and Weak Side Rotations

Pro-Am defense in NBA 2K27 is not just about staying in front of your matchup. Strong teams win possessions by controlling driving lanes, protecting the paint, and rotating quickly when the offense creates an advantage. A good defensive system makes every player responsible for more than just the man in front of them.

Understand the Strong Side and Weak Side

The strong side is the side of the court where the ball is located. The weak side is the opposite side, where defenders must prepare for cuts, skip passes, and corner threes.

AreaMain Defensive GoalPriority
Strong SideStop drives and passing lanesHigh
Weak SideProtect paint and shootersMedium
PaintPrevent easy finishesVery High
CornerContest catch-and-shoot attemptsHigh

On the strong side, defenders should avoid unnecessary help that leaves an open shooter. If the ball handler attacks the rim, the nearest help defender should slow the drive while the original defender recovers.

For players who spend a lot of time building their MyPLAYER, NBA 2K27 MT can also help with improving the overall setup, but defensive positioning remains more important than simply having better attributes.

Build a Simple Rotation Chain

The easiest Pro-Am defensive system is based on clear rotation rules. When one defender helps, another defender fills the open position.

Offensive ActionFirst RotationSecond Rotation
Strong-side driveStop the ballCover corner
Pick-and-rollBig helpsWeak side tags
Corner drivePaint helpRotate to shooter
Skip passClose outRecover to paint
Offensive cutBump cutterRecover outside

The center usually plays an important role because they can protect the rim while communicating where help is coming from. Guards should stay active without constantly abandoning shooters.

Weak-Side Defense Wins Possessions

Many Pro-Am players focus too heavily on the ball. However, the weak side is where many easy baskets begin. A weak-side defender should stay between their assignment and the paint while remaining close enough to recover to a shooter.

When the ball enters the paint, the weak-side defender may need to temporarily help. The key is to help early and recover immediately instead of standing in the lane.

Defending Drive and Kick

Drive-and-kick offenses are especially dangerous because one defensive mistake can create an open three. The first defender should stop the drive, while the next defender rotates toward the most dangerous passing option.

Do not have multiple defenders collapse on the same ball handler. Once the ball leaves the paint, defenders should sprint back to their assignments and communicate the rotation.

Common Defensive Mistakes

The biggest problems in Pro-Am usually come from poor communication rather than individual skill. Overhelping, chasing steals, and switching without communication can quickly destroy the defensive structure.

Players looking to optimize their setup may consider options related to buy NBA 2K27 MT, but no amount of upgrades replaces disciplined rotations and good communication.A strong NBA 2K27 Pro-Am defense should operate as one unit. The strong side pressures the ball, the weak side protects the paint and prepares for rotations, and every help defender knows where the next recovery should happen.

Once your team understands these basic rules, defense becomes much easier to organize. Instead of five players reacting separately, everyone starts moving as part of the same system.

Mastering the Sword Lance Strength Build in Elden Ring DLC

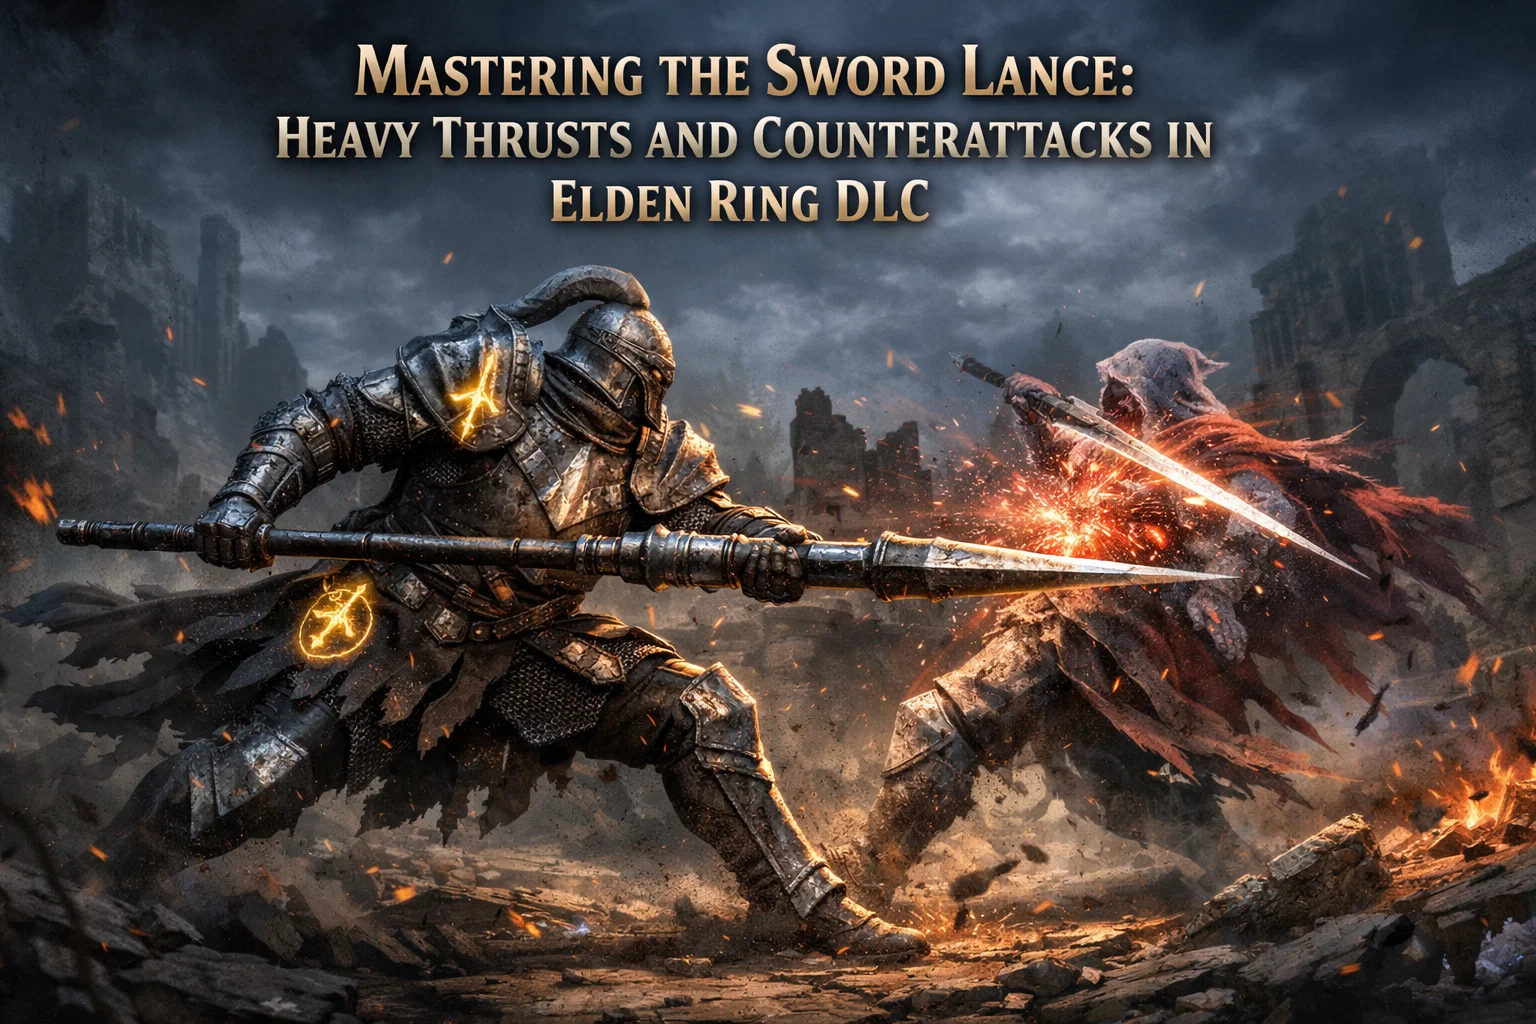
With the Elden Ring DLC bringing new weapons and balance changes into the spotlight, it’s always refreshing to see a setup that feels both simple and brutally effective. One build that has quietly stood out is the Sword Lance strength build, centered around heavy thrusting sword mechanics and smart counterattack trading. After watching extensive PvP invasions and testing similar setups myself, this build proves that raw fundamentals still matter in a meta full of flashy skills and spell spam.

This article breaks down how the Sword Lance works, why its heavy attack combo is so deadly, and how you can use it effectively in real PvP situations without overcomplicating your playstyle.

Why the Sword Lance Works So Well

At its core, the Sword Lance belongs to the heavy thrusting sword class, but it plays very differently from older weapons in that category. The key reason is its heavy attack into light attack combo. Landing a charged or partially charged heavy thrust allows a guaranteed light follow-up, which creates massive burst damage if the opponent is attacking at the same time.

Because the Sword Lance deals pierce damage, it benefits heavily from counterattack bonuses. If you hit an enemy during their attack animation, the damage spike is noticeable. In invasions, this often leads to situations where a single clean trade deletes a phantom outright, especially if they’re lightly armored or already chipped down.

This makes the weapon especially strong against aggressive players who rely on jump attacks, weapon skills, or panic pressure. Instead of dodging everything, you’re encouraged to stand your ground and take calculated trades.

Core Playstyle: Trading Smart, Not Trading Blind

This build is not about swinging wildly and hoping for the best. The real strength comes from understanding timing. You want to bait attacks, especially predictable ones like jump attacks or running heavies, and meet them with your own heavy thrust.

Once the heavy connects, the light follow-up comes out fast and hits hard. Many players underestimate how quickly that second hit lands, which leads to surprise kills even through decent armor.

That said, not every trade is worth taking. Ultra weapons with massive poise damage or certain Ashes of War can still overwhelm you. Learning when to disengage is just as important as knowing when to commit.

Talismans That Make the Build Shine

Two talismans do most of the heavy lifting here. The Spear Talisman boosts counterattack damage for pierce attacks, which synergizes perfectly with the Sword Lance’s playstyle. Since you’re actively trying to hit enemies during their attacks, this bonus is almost always active.

The Two-Handed Sword Talisman is the second key piece. When two-handing the weapon, you get a flat damage boost, which stacks nicely with counter damage and buffs. Together, these talismans turn already strong trades into fight-ending moments.

Defensive talismans also matter. High poise allows you to finish your heavy attacks without being staggered, which is essential when fighting multiple opponents or spell-heavy teams.

Stats and Armor: Keeping It Simple

This is a straightforward strength build. Strength should be your main damage stat, pushed as high as your level allows. Endurance is equally important because you’re wearing heavy armor and trading hits. Running out of stamina mid-fight is a death sentence.

Vigor should not be neglected. In invasions especially, you’ll often take chip damage from spells, arrows, or off-screen attacks. Extra health gives you room to make mistakes.

For armor, heavy sets with good poise are ideal. You don’t need anything fancy. The goal is to survive long enough to land your heavy attack, not to look stylish.

Some players prefer farming runes to speed up reaching these stat thresholds. While it’s completely optional, players who want to skip repetitive farming sometimes look into ways to buy elden ring runes early on to experiment with multiple builds without committing dozens of hours to grinding.

Buffs and Ashes of War

This build doesn’t rely on flashy Ashes of War, which is actually part of its strength. Royal Knight’s Resolve is a strong option if you want to push damage even further. When combined with a counterattack, the numbers get absurd fast.

Consumables like Exalted Flesh and Uplifting Aromatic can temporarily push your attack rating to terrifying levels. These buffs are best saved for key moments, such as when facing multiple phantoms or when you’re confident you can force a trade.

The nice thing here is flexibility. Even without buffs, the Sword Lance performs well. Buffs simply raise the ceiling.

Dealing With Common PvP Threats

Magic-heavy teams are one of the bigger challenges. Sorceries like Stars of Ruin or skull-based spells can force you to move constantly, breaking your rhythm. In these situations, patience is key. Focus on positioning, use terrain, and wait for the moment when a caster gets greedy.

Against popular weapons like Moonveil or Rivers of Blood, the Sword Lance surprisingly holds its own. Many players rely on muscle memory and predictable follow-ups. If you recognize those patterns, trading into them often works in your favor.

Latency can also play a role. Even if connections are messy, pierce damage and counter hits still punch through surprisingly well, making the build feel consistent even in less-than-perfect conditions.

Progression Tips for Newer Players

If you’re newer to Elden Ring PvP, this build is a solid entry point. It teaches good fundamentals like spacing, timing, and reading opponents rather than relying on gimmicks.

Leveling can take time, especially if you want high strength, endurance, and vigor early. Some players choose to buy elden ring runes u4gm as a shortcut to reach testing levels faster, especially when experimenting with DLC weapons. Services like U4GM are often mentioned in community discussions, but regardless of how you level, understanding the build matters more than raw stats.

Practice landing heavy attacks in low-risk fights first. Once the timing clicks, the build becomes incredibly satisfying.

The Sword Lance strength build proves that Elden Ring PvP doesn’t always need complex setups or flashy skills to be effective. With smart trading, strong fundamentals, and a weapon that rewards confidence, this build excels in invasions and duels alike. If you enjoy a grounded, aggressive playstyle that punishes mistakes hard, the Sword Lance is well worth your time.

Key Takeaways: Unlock Hidden Secrets in Elden Ring with These 9 Advanced Tips

Pumpkaboo Size Guide for Pokémon Legends: Z-A

In Pokémon Legends: Z-A, players will encounter a wide array of Pokémon, and one of the more unique creatures in the game is Pumpkaboo. This adorable ghost-type Pokémon has a special feature—its different sizes! Each size of Pumpkaboo has its own set of characteristics that can influence your gameplay strategy. In this guide, we’ll take a deep dive into Pumpkaboo’s sizes and how they can impact your experience in the game.

Before we dive in, if you’re looking to add a shiny Pumpkaboo to your collection, be sure to buy shiny Pokémon from reliable sources. A shiny Pokémon is not only a rare find, but it can also offer better stats and unique visual appeal compared to their regular counterparts.

Understanding Pumpkaboo’s Sizes

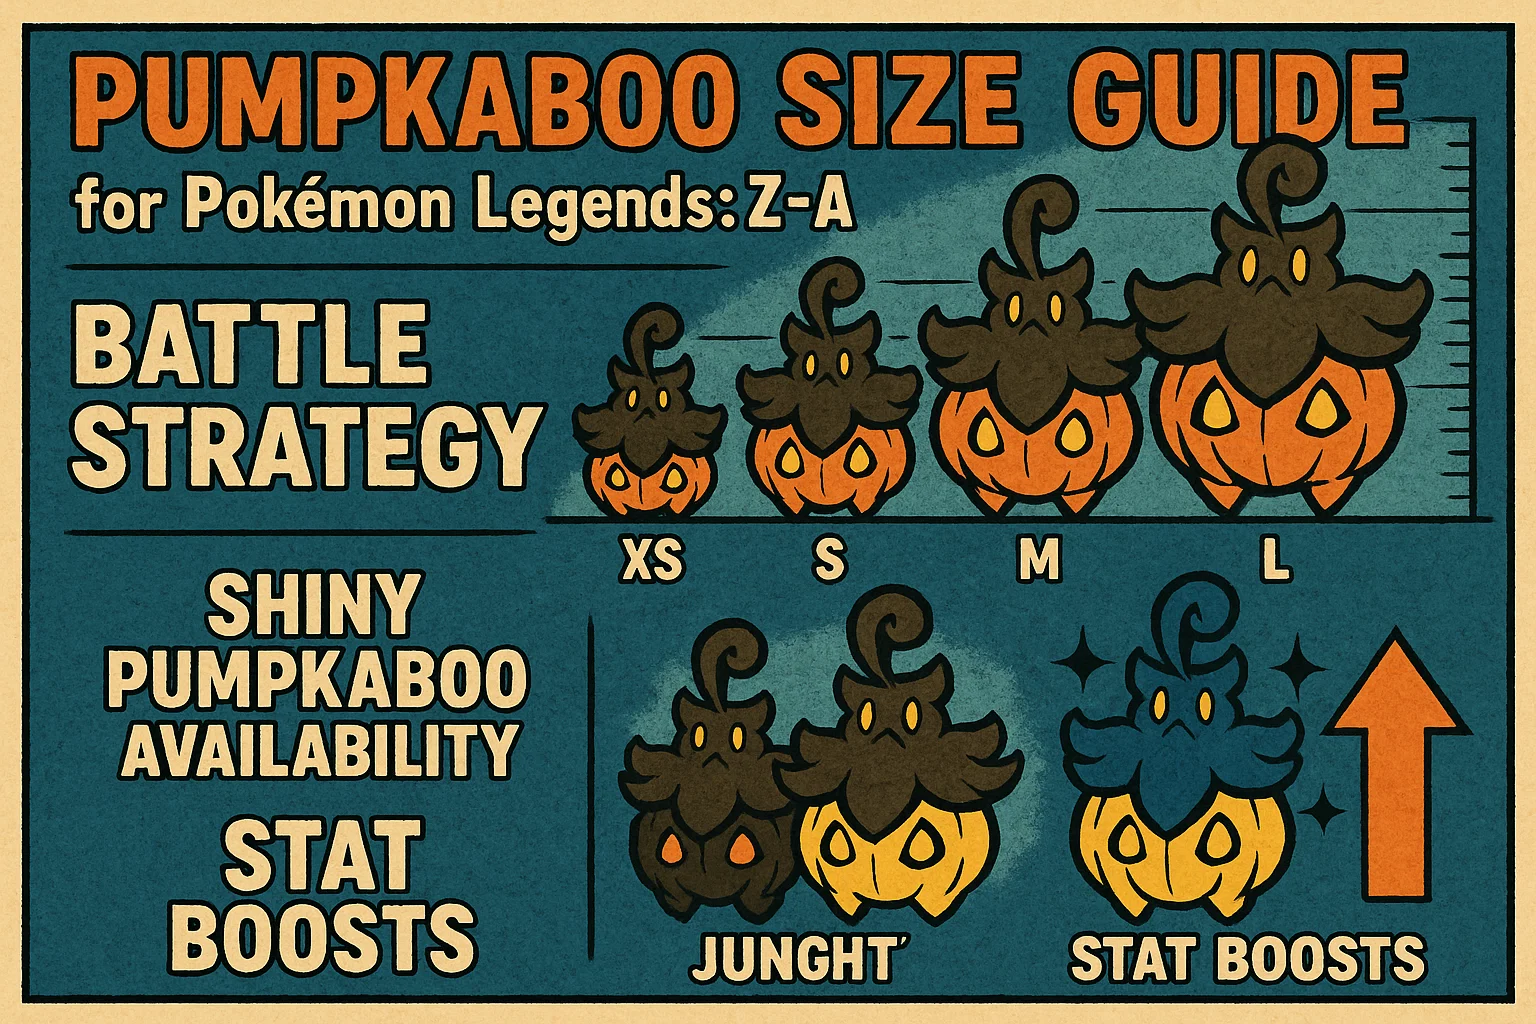
Pumpkaboo comes in four distinct sizes: Small, Average, Large, and Super Size. Each of these sizes has an impact on the Pokémon’s stats, including its health, speed, and ability to learn certain moves. Here’s what you need to know about each size:

1. Small Pumpkaboo

Small Pumpkaboo is the most common size that you’ll find in the wild. It’s known for having slightly better Speed than the other sizes, which can be useful in certain competitive scenarios. While its Attack and Defense stats are standard, it’s the speed that gives this size its edge.

2. Average Pumpkaboo

The Average size is the middle ground. This version of Pumpkaboo has balanced stats across the board, with no particular area of strength or weakness. For players who prefer consistency, this is a solid option to train and evolve. It also gives you the opportunity to experience the regular Pumpkaboo form without focusing too much on one stat.

3. Large Pumpkaboo

Large Pumpkaboo excels in bulk. This variant has higher HP and Defense stats, making it more resilient in battle. If you’re aiming for a tanky strategy, this is the ideal size to pursue. While it may not be as fast as the Small variant, its defensive abilities allow it to take more hits, which could turn the tide in tough battles.

4. Super Size Pumpkaboo

Super Size Pumpkaboo is a powerhouse, often sought after by players who want a strong all-around Pokémon. This size is larger than even Large Pumpkaboo and boasts the highest stats overall. The Super Size variant is not only impressive due to its sheer size, but it also has the best potential in terms of raw power. Whether you’re using it for in-game challenges or trading, it’s an excellent choice.

Shiny Pumpkaboo

For those looking for something even rarer, you can encounter a shiny Pokémon version of Pumpkaboo. A shiny version is not only a stunning visual upgrade, but it also has a distinct aesthetic, with a purple hue replacing the usual orange. Shiny Pokémon have become a popular aspect of Pokémon Legends: Z-A, and hunting them is part of the thrill.

To find shiny Pumpkaboo, it is recommended that you employ strategies like using the Shiny Charm or Masuda Method to increase your chances. If you’re interested in bypassing some of the grind, you might want to consider options to buy shiny Pokémon from trusted providers. This can save you time and give you a rare, shiny version of Pumpkaboo that’s ready for your team.

Key Considerations When Choosing Pumpkaboo Size

  • Battle Strategy: Think about your team’s needs. If you require a fast attacker, the Small Pumpkaboo might be the best option. For more durability, consider the Large or Super Size Pumpkaboo.
  • Shiny Pumpkaboo Availability: Keep in mind that shiny Pumpkaboo are incredibly rare, and finding one of the various sizes in shiny form can be a challenging but rewarding experience.
  • Stat Boosts: Some Pumpkaboo sizes have access to unique moves, and certain sizes will be better at handling specific roles in your team. For example, a larger Pumpkaboo with more HP can withstand more hits, but it might not be as effective at dishing out quick damage.

Whether you’re interested in adding a shiny Pumpkaboo to your collection or simply curious about the impact of different sizes, understanding the distinctions between them will help you make informed choices in Pokémon Legends: Z-A. Each size has its advantages, and the right one depends on your team strategy. For those hoping to skip the hunt, there are trustworthy platforms where you can buy shiny Pokémon, ensuring you don’t miss out on a valuable addition to your collection. With this guide, you’re now ready to choose the best Pumpkaboo for your journey through the world of Pokémon Legends: Z-A. Happy hunting!

A Beginner-Friendly Guide to Leveling and Gear Progression in Aion 2

Getting started in Aion 2 can feel a little overwhelming at first, especially with the number of systems you unlock as you push toward level 45. After spending some time digging into the game and re-watching the major early-game tutorials, I’ve put together a streamlined walkthrough covering class choice, leveling flow, gear upgrades, skill management, and general progression tips. This is the kind of stuff I wish I had known earlier, so hopefully it saves you a few headaches along the way.

Choosing Your Class

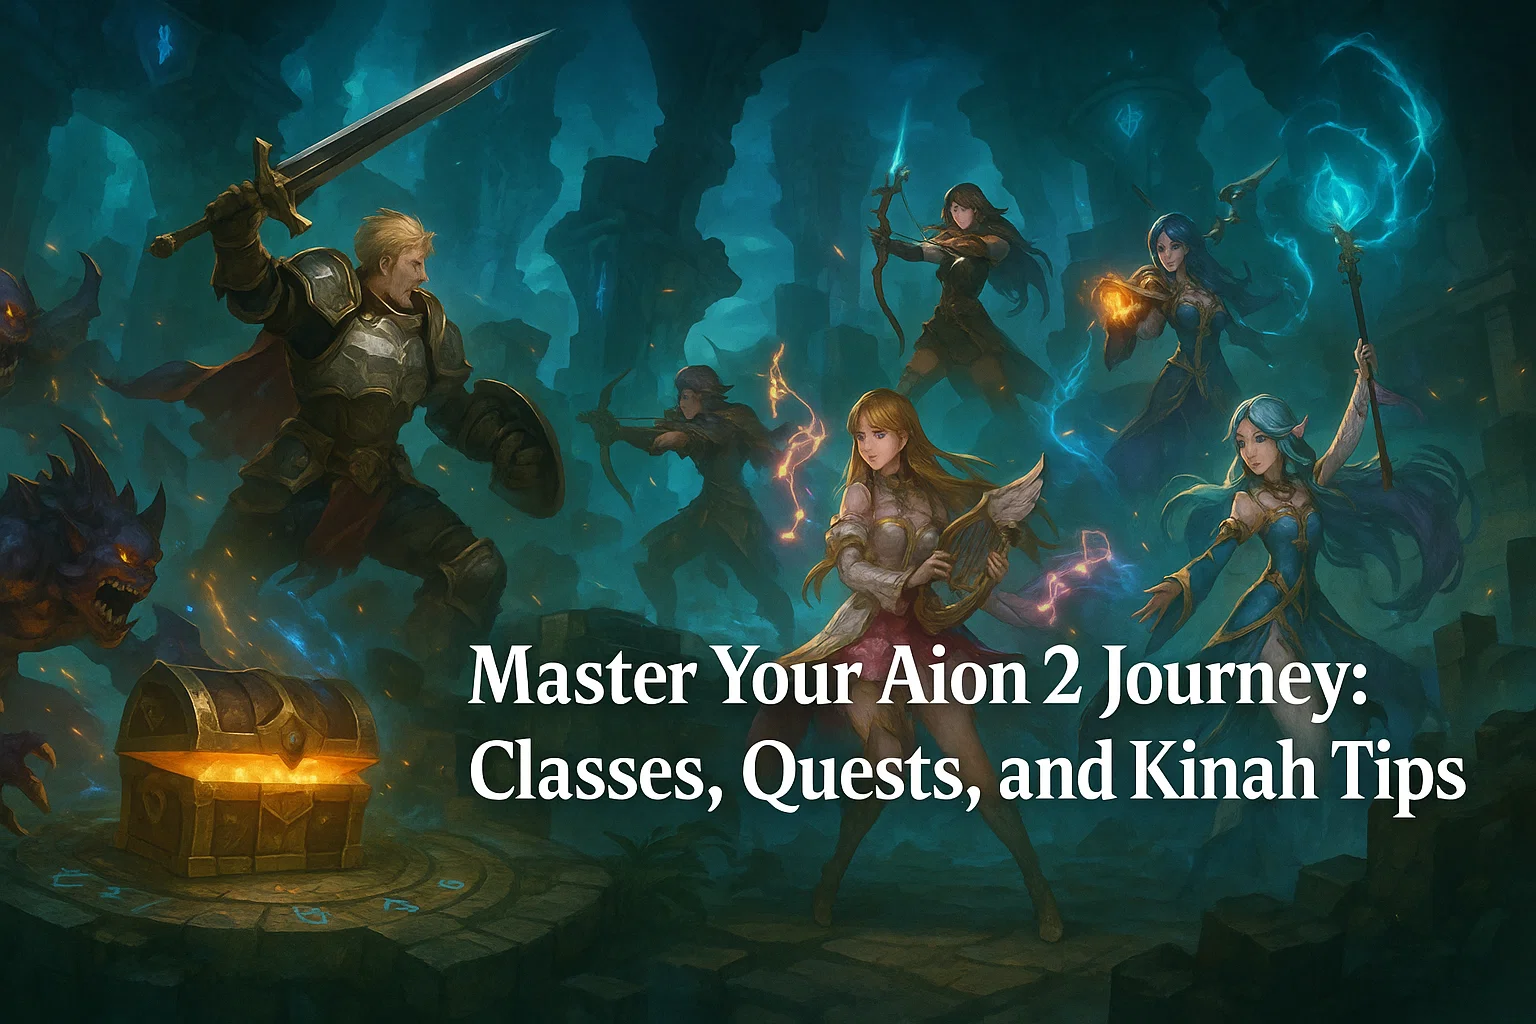
Aion 2 sticks closely to classic archetypes, so you’ll usually know what you’re signing up for from the start. Gladiator is a hardy melee bruiser, Templar is your pure tank, Assassin dances around enemies with stealth and fast hits, and Ranger offers reliable ranged DPS. If you prefer spellcasting, Sorcerer hits the hardest from afar, while Elementalist provides debuffs, summons, and damage-over-time tools.

For support roles, Cleric remains the go-to healer, and Chanter lands somewhere between light support and hybrid DPS. If you want something strong for early solo content without relying too much on healing rotations, Chanter is surprisingly forgiving.

None of these classes are hard-locked into strict builds early on, so don’t stress too much about “picking the wrong class”—every class has a clear place both in story progression and group content.

Understanding the Main Quest and Bonus Activities

The main quest—your yellow quest line—is the backbone of your leveling experience. You’ll follow it until you eventually hit your first wall. Usually this happens when a boss suddenly feels like you’re punching a brick building. Don’t panic; this is completely normal.

When that happens, switch to your side quests. These are unlocked progressively and offer a surprisingly large chunk of experience and rewards. If those still aren’t enough, try the bonus dungeons marked with question icons on the map. These small instances are great for topping off XP, earning gear, and getting the extra push you need to move forward in the campaign.

If you enjoy gathering or crafting, collecting materials also grants experience. It’s not required, but some players like weaving this into their routine to level a profession while gaining passive XP.

Managing Consumables and Staying Alive

You’ll get access to a variety of potions, scrolls, and food buffs. They’re not meant to be spammed nonstop because many of them cost a decent amount of currency. Basic potions are cheap enough to use whenever you need them, but high-tier consumables—especially food—should be saved for boss encounters or situations where you’re truly stuck.

One easy trick players often forget is the rest function. Hitting the comma key lets your character sit down and regenerate health between pulls. It’s a simple habit that saves tons of currency and prevents you from burning through expensive consumables early on.

Gear Progression and Enhancement

Gear upgrades unlock pretty quickly, and the game gives you the option to enhance your items using the N menu. But here’s the catch: don’t over-upgrade every new piece of gear you find while leveling. You’ll replace items constantly from level 1 to 45, so upgrading too early is basically throwing resources into a fire.

Instead, enhance gear only when you’re stuck. Take everything to +1 (maybe +2 if needed), try again, and upgrade further only if absolutely necessary. Higher rarity items—blue or orange gear—are worth pushing a bit further because you’ll hold onto them longer.

You can also socket manastones to add stats. These are cheap when using the stones intended for your gear’s rarity tier, so don’t hesitate to slot them in. Even a single stone per item adds up to a noticeable power bump.

If you need more crafting resources later on, dismantling unwanted gear gives you materials you can use for crafting better items. Just make sure you only dismantle equipment you don’t plan on enhancing.

Earning Enough Kinah for Upgrades

Once you start enhancing gear consistently, you’ll notice that Kinah disappears faster than expected. Side quests are your primary income source, and they provide enough to carry you through most of the early-mid game. Silentium items—those strange jars you loot along the way—can be sold for a large Kinah payout too, so always check your inventory for them.

If you’re looking for additional ways to prepare for later gear upgrades, learning how the Aion 2 Kinah economy fluctuates can help you make smarter decisions about when to enhance items, especially once you move into higher-rarity equipment.

Skill Progression, Specialization, and the Daevanion System

Each class uses the same base skills, but their builds diverge through progression. Skills unlock specializations at levels 8, 12, and 16, so it’s important to prioritize your strongest abilities early.

Passive skills don’t gain special effects, but spreading points evenly before maxing anything can help you avoid overspending. Skill resets are free at early levels, so feel free to experiment.

At level 25, you unlock the Stigma system, which offers powerful extra abilities. Be careful here—resetting Stigma choices becomes expensive as levels rise. Take your time deciding how you want to build your character.

Later on, the Daevanion system opens a large grid of passive bonuses that affect both skills and general stats. This is one of the most complex systems in Aion 2, and it rewards players who complete side quests, since many Daevanion points come from questing. Planning your build calmly is important here, especially if you want to boost specific abilities beyond their normal level cap.

Crafting, the Pantheon System, and Additional Tools

Crafting allows you to create stronger gear or consumables, but it does take time. Just remember that each profession fits certain classes better. Sorcerers won’t get much out of blacksmithing, for example, but alchemy and cooking are universally helpful.

You’ll also unlock the Pantheon, where you can place statues obtained throughout your journey. These give useful buffs depending on what you’ve collected. It’s a simple system but one that adds steady power over time.

As you continue into the later levels, you’ll find more ways to specialize your character and generate rewards. Some players who want to progress faster focus on ways to buy Aion 2 Kinah coins fast, but whether you stick strictly to in-game systems or explore external communities like U4GM is entirely up to your comfort and playstyle.

Aion 2’s early game gives players a lot of freedom, but it also throws a surprising number of systems at you in a short time. The key is pacing yourself: follow the main quest, do side quests when needed, upgrade gear only when stuck, and take advantage of the skill customization tools as they unlock. Once you get the flow down, the journey to level 45 feels much smoother than it first appears.

Trending Now: Aion 2 Cleric Skills & Build Guide