Best Helldivers 2 Armor: 6 Must-Have Suits and Strategies

Choosing the right armor in Helldivers 2 can be the difference between victory and total annihilation. Every mission throws you into chaotic battlefields filled with deadly enemies, so your armor choice must match both your playstyle and mission type. Below, we’ll break down six of the best armor suits in Helldivers 2 and share strategies on how to make the most of each one.

1. SC-34 Infiltrator Armor

For players who prefer agility and stealth, the SC-34 Infiltrator stands out. It’s lightweight, allowing for quick movement across open terrain and faster recoveries after dodging. The passive bonuses improve stamina regeneration, perfect for players who like to flank or reposition frequently. Pair this armor with mobility-focused loadouts to stay unpredictable and avoid getting pinned down.

Strategy Tip: Use this suit during objective-based missions where speed and coordination matter more than tanking hits.

2. FS-23 Battle Master Armor

If your team relies on someone to hold the line, the FS-23 Battle Master is your go-to. This heavy armor provides high resistance against explosions and ballistic attacks. Its passive perks reduce recoil and improve accuracy while crouching, giving it great synergy with heavy machine guns or shotguns.

Strategy Tip: Stay near objectives or extraction zones to protect allies. You can tank damage while your teammates handle support roles.

3. DP-40 Hero of the Federation Armor

This armor is a favorite among veterans for its balanced design. It offers moderate protection without sacrificing too much mobility. Its passive ability enhances grenade effectiveness, making it excellent for crowd control. When combined with offensive stratagems, the DP-40 helps maintain pressure on enemy waves.

Strategy Tip: Ideal for solo players or balanced squads. Use grenades to thin out large groups before pushing forward.

4. B-27 Fortified Commando Armor

The B-27 Fortified Commando offers impressive defense against automaton fire. It’s particularly useful in missions featuring heavy gunfire and mechs. The reduced recoil and damage resistance make it perfect for sustained firefights.

Strategy Tip: Pair it with a recoil-heavy weapon like the M-105 Stalwart for better accuracy and longer engagements.

5. CE-81 Juggernaut Armor

If you prefer walking into chaos and coming out unscathed, this armor is for you. The CE-81 Juggernaut provides top-tier protection, especially against melee damage from bugs and close-range automaton attacks. It slightly reduces mobility but ensures you survive the most dangerous encounters.

Strategy Tip: Use this armor when taking on Terminid hives or large swarms. Bring support stratagems to offset your slower movement.

6. EX-03 Prototype X Armor

This high-tech suit is one of the most unique in the game. It combines energy shielding with increased damage output, letting you play aggressively without being too fragile. Though rare, it’s one of the most rewarding armors to use once mastered.

Strategy Tip: Use its energy shield to absorb initial damage before engaging elites or heavy units. Timing your attacks while the shield is active can turn the tide of battle.

How to Optimize Your Loadout and Resources

While these six armors can dramatically improve your survivability and effectiveness, they work best when paired with the right weapons and stratagems. Managing your resources efficiently is key—particularly when upgrading gear or unlocking rare items. Players often look for reliable sources of Helldivers 2 items for sale to round out their collection or enhance their builds faster.

If you want to progress quickly or customize your loadouts effectively, it’s worth keeping an eye on options where you can buy Helldivers 2 super credits to acquire essential equipment and cosmetics. Trusted gaming marketplaces like U4GM are popular among players who want to save time and focus more on gameplay rather than grinding.

The best armor in Helldivers 2 depends on how you like to fight. Whether you’re a fast-moving scout, a tanky front-liner, or a balanced operator, choosing the right suit will shape your entire combat experience. Each of these six options offers distinct advantages—mastering them and pairing them with smart tactics will help you bring democracy to every corner of the galaxy.

FAQs About Buying Black Ops 7 Bot Lobbies Services

In Call of Duty: Black Ops 7 (BO7), bot lobbies have become a popular method for players to complete challenges, level up weapons, and improve their stats without the intense competition of regular matches. This FAQ guide provides essential information to help you understand and utilize BO7 bot lobby services effectively.

What Is a BO7 Bot Lobby?

A BO7 bot lobby is a custom multiplayer session where most of the opponents are AI-controlled bots or less-skilled players. These lobbies allow you to:

Complete camo challenges and unlock mastery camos.
Level up weapons and rank up quickly.
Earn calling cards and improve your kill/death ratio.
Enjoy a more relaxed and less competitive gaming experience.

How Do I Access a BO7 Bot Lobby?

Accessing a BO7 bot lobby typically involves the following steps:

Choose a Service Provider: Select a reputable provider offering BO7 bot lobby services.
Select Your Package: Choose the number of lobbies you wish to purchase and any additional options, such as Nuke Lobby or 2XP Tokens.
Provide Your Activision ID: Share your Activision ID to receive a friend request from the service provider.
Accept the Invitation: Once the provider sends you a friend request, accept it to join the lobby.
Start Playing: Begin your session and start farming kills, camo challenges, and weapon levels.

Is It Safe to Use BO7 Bot Lobbies?

Using BO7 bot lobbies is generally safe when you choose a reputable service provider. Trusted providers ensure secure transactions and protect your account information. For example, providers like U4GM offer secure and cheap bo7 bot lobby, ensuring a safe experience for their customers.

Do I Need to Share My Account Information?

Reputable service providers do not require you to share your account password. Instead, they use your Activision ID to send you a friend request and invite you to the lobby. This approach minimizes the risk to your account security.

Will I Get Banned for Using Bot Lobbies?

While using bot lobbies is not explicitly banned, it’s essential to use them responsibly. Avoid excessive use that could be considered as manipulating the game’s matchmaking system. Always adhere to the game’s terms of service to prevent any potential issues.

Can I Use Bot Lobbies on All Platforms?

Yes, BO7 bot lobbies are available on PlayStation, Xbox, and PC platforms. All you need is your Activision ID to join the lobby.

How Do I Choose the Right Bot Lobby Service?

When selecting a BO7 bot lobby service, consider the following factors:

Reputation: Choose providers with positive reviews and a track record of reliable service.
Security: Ensure the provider uses secure methods to protect your account information.
Features: Look for additional features like VPN services or customization options to enhance your experience.
Customer Support: Opt for providers that offer responsive customer support to assist you with any issues.

BO7 bot lobbies offer a convenient way to complete challenges, level up weapons, and enjoy a more relaxed gaming experience. By choosing a reputable service provider and using the lobbies responsibly, you can enhance your Call of Duty: Black Ops 7 experience without the stress of competitive matches.

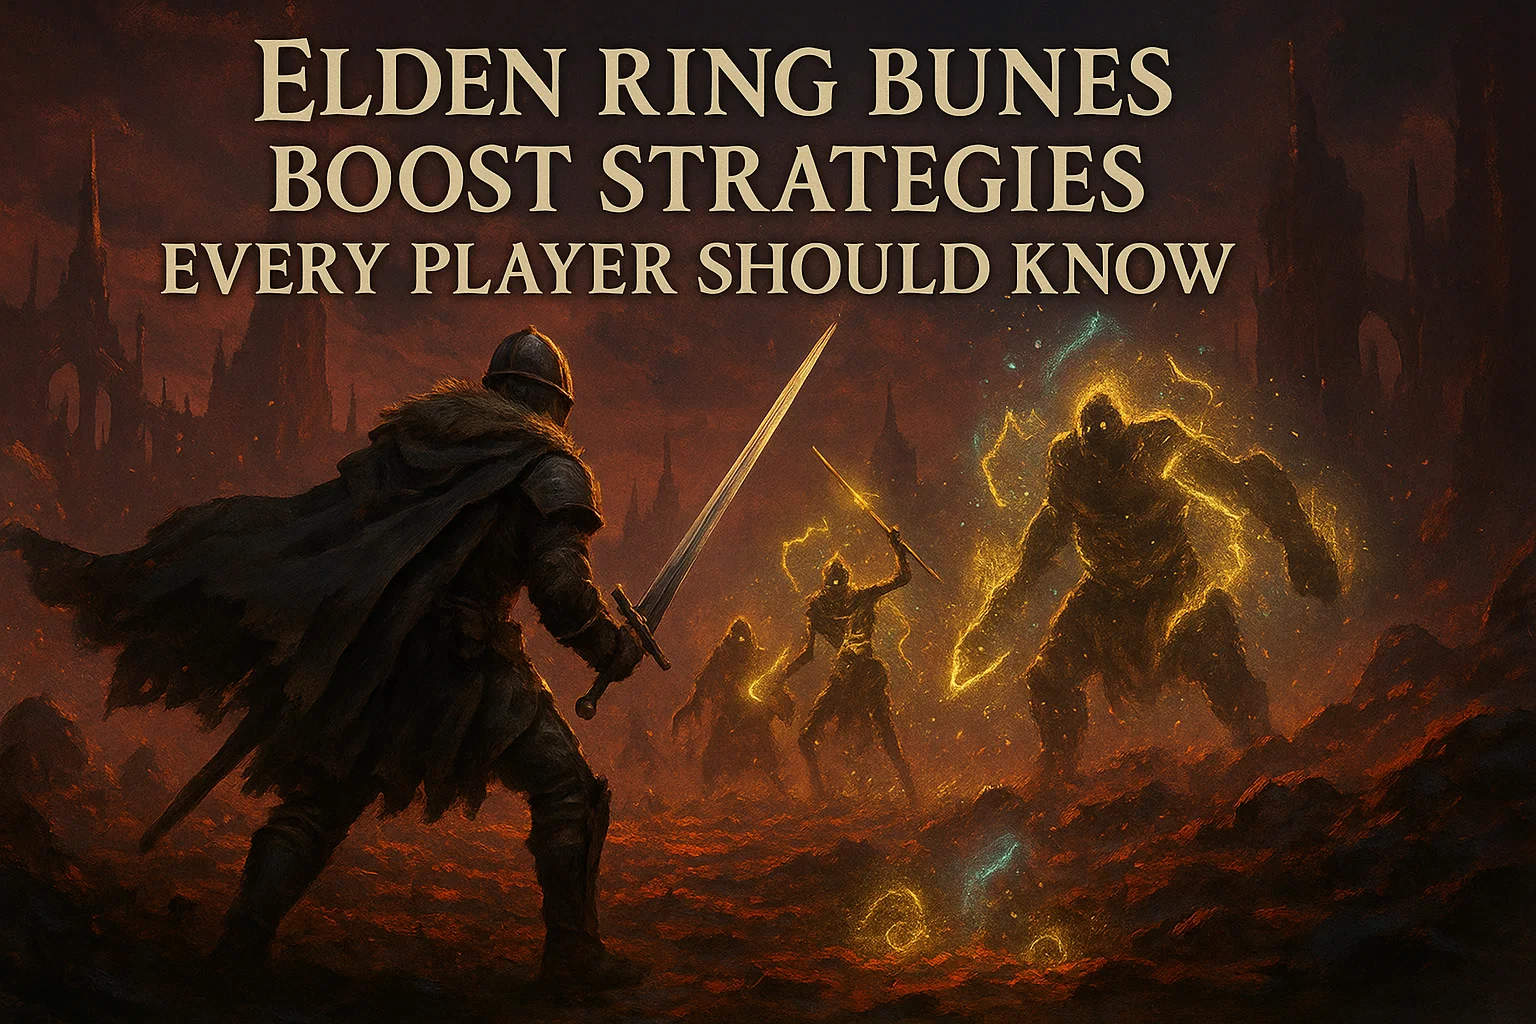
Elden Ring Runes Boost Strategies Every Player Should Know

If you’ve spent hours wandering the Lands Between, you already know how crucial runes are for progression in Elden Ring. They fuel your character’s growth, determine your ability to wield powerful weapons, and often mean the difference between surviving a boss encounter or facing yet another “You Died” screen. Whether you’re new to the game or pushing into higher-level builds, understanding how to maximize your rune gains can make your journey smoother.

1. Farm Runes in High-Yield Locations

Certain areas in Elden Ring are well-known for their rune farming efficiency. The Palace Approach Ledge-Road in Mohgwyn Palace remains a fan favorite, thanks to the dense enemies that provide thousands of runes in just minutes. Another early-game spot is the Warmaster’s Shack, where players can face invaders repeatedly. Exploring these farming routes helps you steadily accumulate runes without too much risk.

2. Equip Rune-Boosting Gear

Items like the Gold Scarab Talisman and Gold-Pickled Fowl Foot are essential tools for increasing rune gain. Using these before taking on bosses or during farming sessions significantly enhances your rewards. Savvy players often save these consumables for challenging encounters or when farming in the most efficient locations to maximize their return.

3. Defeat Tougher Enemies Strategically

Taking down tougher mobs or mini-bosses may feel daunting, but the rune payout is often worth it. For example, enemies in late-game areas like the Consecrated Snowfield yield impressive amounts of runes. Pairing this strategy with rune-boosting gear can help you level faster without relying solely on repetitive farming.

4. Play in Co-Op for Bonus Runes

Joining other players in co-op not only helps with difficult fights but also rewards you with extra runes. Summoning signs are a great way to experience boss fights multiple times without risking your own rune pool. This is a fun, community-driven method of farming that also sharpens your combat skills.

5. Consider External Rune Options

While farming and strategy are reliable methods, some players prefer convenience. Many communities discuss how to buy elden ring runes to save time and focus on gameplay rather than grinding. The Best place to buy elden ring runes online is often debated among players, but it’s important to be cautious and prioritize safe, trusted sources if you decide to go down this path.

Runes are the backbone of progression in Elden Ring, and knowing how to boost your gains will make your adventure far more enjoyable. Whether you’re farming efficiently, optimizing gear, or exploring alternative options, the key is finding a balance that fits your playstyle. With the right strategies, every rune earned brings you closer to mastering the Lands Between.

7 Ways to Solve the Audio Crackling Issue in Helldivers 2

Audio is an essential part of the Helldivers 2 experience. The tension of bug swarms, the roar of explosions, and the chatter of your squadmates make every mission more immersive. But for some players, a frustrating issue has cropped up: audio crackling or distortion during gameplay. If you’ve encountered this, don’t worry—there are several fixes you can try to restore smooth, crisp sound.

1. Update Your Audio Drivers

Outdated or corrupted drivers are one of the most common causes of audio crackling. Visit the official site for your sound card or motherboard and make sure you’re running the latest version. After updating, restart your PC before launching Helldivers 2 again.

2. Adjust In-Game Audio Settings

Sometimes the game’s own audio engine struggles under certain configurations. Lower the sound quality in the settings menu, or try toggling options like spatial audio or surround sound. This can reduce stress on your system and eliminate crackling.

3. Check Your Sample Rate

Right-click the speaker icon in Windows, go to Sound Settings, and check your output device’s sample rate. Many players have found that setting it to 48 kHz or 44.1 kHz prevents distortion. Extremely high sample rates can sometimes cause instability in games.

4. Disable Exclusive Mode

Exclusive Mode allows apps to take full control of your audio device, but it can also trigger conflicts. In the device properties, uncheck “Allow applications to take exclusive control of this device” and test the game again.

5. Reduce Background Processes

Helldivers 2 can be demanding, and if your system is under heavy load, audio processing may suffer. Close unnecessary apps before launching the game. This is especially helpful if you’re running streaming software, voice chat, or browsers at the same time.

6. Verify Game Files

Corrupted or missing files can cause more than just crashes—they can also affect audio performance. Use your launcher’s “verify integrity” or “scan and repair” function to ensure your installation is clean. This often fixes unexpected sound issues.

7. Reinstall or Switch Audio Devices

If none of the above works, try reinstalling your audio drivers completely, or test the game with a different output device, like headphones instead of speakers. Many players report that simply switching to another audio device resolves the crackling.

Crackling audio can ruin an otherwise intense Helldivers 2 mission, but most of the time, the fixes above will get you back into the fight with clear sound. While you’re optimizing your setup, you might also be thinking about ways to improve your gameplay progression. Many players look into resources like buy Helldivers 2 super credits or stock up on cheap Helldivers 2 requisition slips to unlock gear more efficiently. Sites like U4GM are often discussed among the community, though the core of the experience always comes down to teamwork and strategy.

Top Tier Classes in Warborne Above Ashes: A Comprehensive Tier List

Warborne Above Ashes (WAA) is a game that offers a rich variety of classes, each with unique abilities and playstyles. Whether you’re a newcomer trying to get a grip on the game or a seasoned player looking for the best performance, selecting the right class can significantly impact your gameplay experience. In this comprehensive tier list, we break down the top-tier classes in Warborne Above Ashes and explain why they stand out. Along the way, we’ll also highlight key assets like Warborne Above Ashes Solarbite and WAA Solarbite, which can elevate your gameplay.

S-Tier: The Dominant Force

In any competitive game, some classes rise above the rest due to their balance of power, utility, and versatility. In Warborne Above Ashes, the S-tier classes are nothing short of overwhelming in the right hands.

1. Solar Vanguard
The Solar Vanguard class is the epitome of damage output and crowd control. With the ability to deploy powerful AOE (Area of Effect) attacks and manage large groups of enemies efficiently, this class is highly sought after. Players who excel with this class can deal massive damage while maintaining effective control over the battlefield. One of the primary reasons for its dominance is its synergy with Warborne Above Ashes Solarbite, a rare item that significantly boosts the class’s power when equipped. This makes the Solar Vanguard not only one of the highest damage-dealing classes but also one of the most versatile.

2. Arcane Sentinel
Arcane Sentinels are masters of both offense and defense. Their utility spells can both shield teammates and decimate enemies with high-velocity magical attacks. What makes them truly special is their ability to adapt to any situation, whether defending a position or pushing forward in an assault. For players who enjoy a balanced playstyle, this class is ideal. Arcane Sentinels also gain significant benefits when utilizing WAA Solarbite, which enhances their defensive capabilities and spells, making them even more formidable.

A-Tier: Balanced and Reliable

These classes may not reach the raw power of S-tier, but they are incredibly reliable and strong in most situations. Whether you’re taking on large mobs or working through complex dungeons, these classes excel in all aspects of gameplay.

1. Flame Blades
Flame Blades are excellent for those who love high mobility and rapid, consecutive strikes. This class excels in close combat and can dish out significant burst damage, especially when supported by Warborne Above Ashes Solarbite. While their defense is somewhat lacking, players who can manage their positioning and timing will find this class extremely rewarding.

2. Stormbringer
Known for their speed and agility, Stormbringers are a favorite among players who prefer a hit-and-run style of play. They wield the power of wind and lightning, making them extremely fast and unpredictable. Their ability to avoid damage while dealing high amounts of single-target damage makes them perfect for experienced players who want to maintain offensive pressure without sacrificing mobility.

B-Tier: Strong, but Situational

B-tier classes are solid choices, but they may have limitations that make them less versatile in every encounter. That said, they can still shine in certain scenarios and are worth considering for players who prefer a specific playstyle.

1. Earthshaper
Earthshapers are heavy tank classes that are great for absorbing damage and holding the front line. Their sheer resilience allows them to take on a lot of punishment, but they often lack the offensive capabilities needed to close out fights quickly. They pair well with support classes and can be a vital part of a team composition, especially in longer battles.

2. Shadow Warden
Shadow Wardens are stealth experts and great at picking off isolated targets. However, their reliance on stealth and high-risk, high-reward tactics means they can struggle in large-scale battles where visibility and coordination are key. For players who enjoy a stealth-based, strategy-driven approach, the Shadow Warden can be a strong class, though it may require precise execution to shine.

C-Tier: Niche and Weak

These classes fall behind the others in terms of overall power and flexibility. However, they can still be useful in specific situations, depending on playstyle and the needs of the team.

1. Frost Seeker
While Frost Seekers can slow down enemies and control battlefield movements, their overall damage output is relatively low. Players who favor status effects and crowd control may find this class enjoyable, but it’s harder to dominate with compared to the other tiers.

2. Beastmaster
Beastmasters have an interesting niche in summoning creatures to fight alongside them. However, these summons lack the power to be effective in high-level play, and the class feels underwhelming when compared to the stronger direct-damage or support classes. For players looking for a more thematic approach, Beastmaster can be fun, but they will often struggle against higher-tier classes.

Choosing the best class in Warborne Above Ashes (WAA) depends largely on your preferred playstyle, whether you’re looking for a tanky frontliner, a stealthy assassin, or a powerful damage dealer. The game’s unique mechanics, such as Warborne Above Ashes Solarbite and WAA Solarbite, allow players to further tailor their experience, enhancing their character’s strengths and abilities. Understanding the strengths of each class and how they interact with these special items is key to dominating the battlefield.

While S-tier classes provide the most overall utility and strength, A-tier classes offer a great balance for those who prefer a mix of defense and offense. Ultimately, the right choice will depend on your strategy and role within the team. Whether you’re a seasoned player or a beginner, experimenting with different classes is the best way to find your perfect fit in Warborne Above Ashes.