How to Get, Trade, and Raise This Limited Uncommon Pet in Adopt Me!

The Tanuki is one of the most charming limited pets ever introduced in Adopt Me!, originally released on September 8, 2022 as part of the Japan Egg update. Although the Japan Egg has since left the game, the Tanuki remains a fan-favorite thanks to its adorable design, smooth progression tricks, and eye-catching Neon and Mega Neon variants. If you’re looking to buy Adopt Me pets or simply want to learn more about this creature, this expanded guide covers everything you need to know.

Whether you’re a collector chasing every Japan Egg creature or a trader seeking a reliable limited pet with long-term value, the Tanuki stands out as a delightful choice. Its charming look, glowing evolutions, and nostalgic origins make it a pet worth adding to your lineup. As you continue exploring the world of Adopt Me, keep an eye on trading trends and community demand—especially if you’re planning to buy adopt me pets that offer both personality and lasting appeal.

How to Get a Tanuki in Adopt Me

Since the Japan Egg is no longer available in the Nursery, players can only obtain a Tanuki through two methods:

1. Hatching Remaining Japan Eggs

If you still own a Japan Egg—or manage to trade for one—you have a chance to hatch a Tanuki.

  • Uncommon chance: 19%
  • Tanuki hatch rate: 9.5%

This makes the Tanuki moderately rare, and Japan Eggs themselves are becoming increasingly valuable as they disappear from circulation.

2. Trading With Other Players

Because it’s a limited uncommon pet, the Tanuki can only be obtained now through player-to-player trading. Its value varies depending on demand, age (Full Grown and Post-Teen are more valuable), and whether it’s Neon or Mega Neon.
Players looking to buy Adopt Me pets often include the Tanuki on their wishlist due to its cute appearance and nostalgic status from the Japan Egg era.

Appearance: What Makes the Tanuki Unique?

The Tanuki captures the look of a classic raccoon-dog from Japanese folklore, making it both culturally interesting and visually adorable.

Base Appearance

The standard Tanuki features:

  • A light-brown body with a light-pink underbelly
  • A brown-tipped tail
  • A curved brown mask-like marking around its eyes
  • Four brown feet, two black eyes, a small black nose
  • Light-brown ears with brown and pink coloring inside

Its rounded body and innocent expression make it one of the cutest uncommon pets in the game.

Trick Progression: Every Trick the Tanuki Learns

When raising a Tanuki, you’ll unlock a series of tricks as it grows. These tricks give players more interaction and also help increase its value, especially when trading full-grown pets.

Trick List by Age Stage

  • Newborn: Sit
  • Junior: Joyful
  • Pre-Teen: Beg
  • Teen: Jump
  • Post-Teen: Trick 1
  • Full Grown: Trick 2

Reaching Full Grown is essential for anyone looking to trade for higher-value items or to build a Neon version.

Neon Tanuki Appearance

When combined into a Neon pet, the Tanuki gains vibrant glowing effects. The Neon Tanuki glows yellow in specific areas:

  • Around its face
  • The outer side of its ears
  • Two glowing bands on its tail

These glowing highlights aren’t overly flashy, making the Neon Tanuki appealing to players who prefer glowing pets with a soft, warm aesthetic.

Mega Neon Tanuki Appearance

The Mega Neon variant takes everything from the Neon version and amplifies it with rainbow cycling colors.
The glowing areas—face, ears, and tail—shift across the full rainbow spectrum. This makes Mega Neon Tanuki stand out at nighttime and in social hubs, making it a desirable flex pet for collectors.

Trading Value and Tips (buy adopt me pets)

If you’re aiming to buy Adopt Me pets through trading, understanding the Tanuki’s market value helps you secure fair trades.

Factors That Increase Value:

  • Being Full Grown
  • Being Neon or Mega Neon
  • Being part of a limited egg line
  • Demand from newer players completing Japan-themed collections

Common Trade Comparisons:

(Note: Values vary by server and current trading trends.)
A Tanuki often trades for:

  • Other limited uncommons
  • A couple of low-tier rares
  • Aging services or multiple common pets

A Neon Tanuki can often trade for:

  • Mid-tier rare pets
  • Lower-tier ultra rares

A Mega Neon Tanuki may trade for:

  • Multiple good rares
  • Ultra-rare pets
  • Occasionally low-tier legendaries, depending on rarity cycles

Why the Tanuki Is Still Popular

Even years after the Japan Egg release, the Tanuki remains loved because:

  • It fits Japanese folklore themes
  • It’s easy to collect as an uncommon yet still limited
  • Neon and Mega Neon versions are visually appealing
  • It’s part of a collectible egg group, which increases long-term demand

Collectors, traders, and casual players all benefit from owning this adorable pet.

The Tanuki is an excellent limited uncommon pet for collectors, traders, and fans of Japanese-style creatures in Adopt Me. Whether you want to buy Adopt Me pets, complete your Japan Egg collection, or raise a pet with charming tricks and beautiful glowing variants, the Tanuki is a great choice with long-term value.

A Beginner-Friendly Guide to Leveling and Gear Progression in Aion 2

Getting started in Aion 2 can feel a little overwhelming at first, especially with the number of systems you unlock as you push toward level 45. After spending some time digging into the game and re-watching the major early-game tutorials, I’ve put together a streamlined walkthrough covering class choice, leveling flow, gear upgrades, skill management, and general progression tips. This is the kind of stuff I wish I had known earlier, so hopefully it saves you a few headaches along the way.

Choosing Your Class

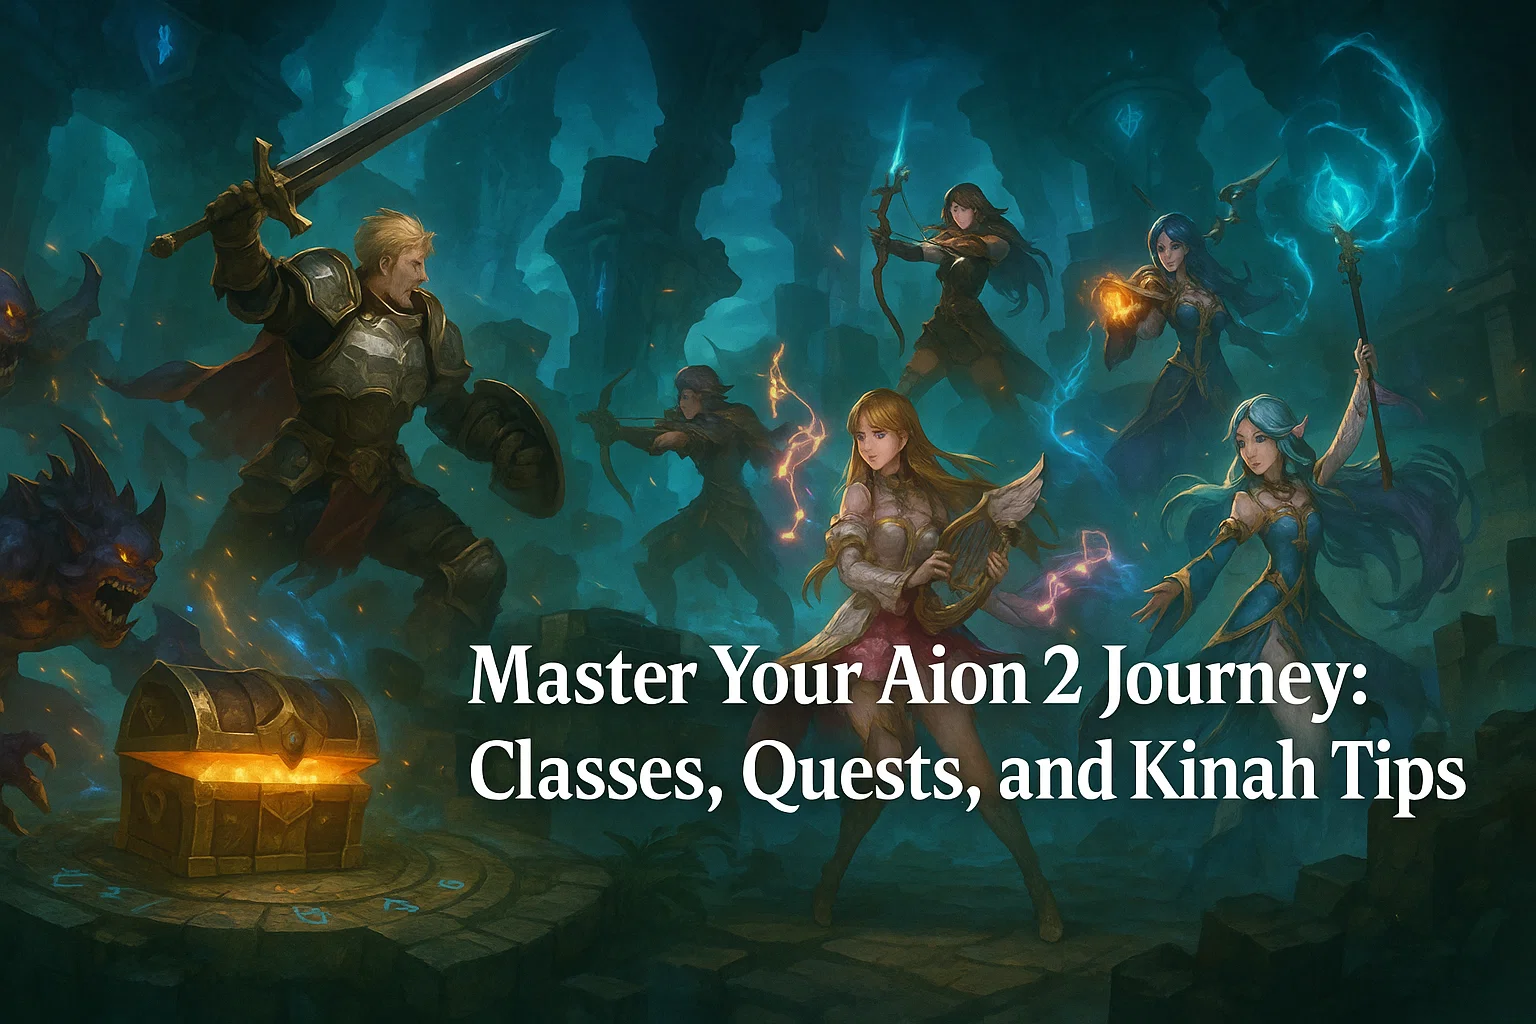
Aion 2 sticks closely to classic archetypes, so you’ll usually know what you’re signing up for from the start. Gladiator is a hardy melee bruiser, Templar is your pure tank, Assassin dances around enemies with stealth and fast hits, and Ranger offers reliable ranged DPS. If you prefer spellcasting, Sorcerer hits the hardest from afar, while Elementalist provides debuffs, summons, and damage-over-time tools.

For support roles, Cleric remains the go-to healer, and Chanter lands somewhere between light support and hybrid DPS. If you want something strong for early solo content without relying too much on healing rotations, Chanter is surprisingly forgiving.

None of these classes are hard-locked into strict builds early on, so don’t stress too much about “picking the wrong class”—every class has a clear place both in story progression and group content.

Understanding the Main Quest and Bonus Activities

The main quest—your yellow quest line—is the backbone of your leveling experience. You’ll follow it until you eventually hit your first wall. Usually this happens when a boss suddenly feels like you’re punching a brick building. Don’t panic; this is completely normal.

When that happens, switch to your side quests. These are unlocked progressively and offer a surprisingly large chunk of experience and rewards. If those still aren’t enough, try the bonus dungeons marked with question icons on the map. These small instances are great for topping off XP, earning gear, and getting the extra push you need to move forward in the campaign.

If you enjoy gathering or crafting, collecting materials also grants experience. It’s not required, but some players like weaving this into their routine to level a profession while gaining passive XP.

Managing Consumables and Staying Alive

You’ll get access to a variety of potions, scrolls, and food buffs. They’re not meant to be spammed nonstop because many of them cost a decent amount of currency. Basic potions are cheap enough to use whenever you need them, but high-tier consumables—especially food—should be saved for boss encounters or situations where you’re truly stuck.

One easy trick players often forget is the rest function. Hitting the comma key lets your character sit down and regenerate health between pulls. It’s a simple habit that saves tons of currency and prevents you from burning through expensive consumables early on.

Gear Progression and Enhancement

Gear upgrades unlock pretty quickly, and the game gives you the option to enhance your items using the N menu. But here’s the catch: don’t over-upgrade every new piece of gear you find while leveling. You’ll replace items constantly from level 1 to 45, so upgrading too early is basically throwing resources into a fire.

Instead, enhance gear only when you’re stuck. Take everything to +1 (maybe +2 if needed), try again, and upgrade further only if absolutely necessary. Higher rarity items—blue or orange gear—are worth pushing a bit further because you’ll hold onto them longer.

You can also socket manastones to add stats. These are cheap when using the stones intended for your gear’s rarity tier, so don’t hesitate to slot them in. Even a single stone per item adds up to a noticeable power bump.

If you need more crafting resources later on, dismantling unwanted gear gives you materials you can use for crafting better items. Just make sure you only dismantle equipment you don’t plan on enhancing.

Earning Enough Kinah for Upgrades

Once you start enhancing gear consistently, you’ll notice that Kinah disappears faster than expected. Side quests are your primary income source, and they provide enough to carry you through most of the early-mid game. Silentium items—those strange jars you loot along the way—can be sold for a large Kinah payout too, so always check your inventory for them.

If you’re looking for additional ways to prepare for later gear upgrades, learning how the Aion 2 Kinah economy fluctuates can help you make smarter decisions about when to enhance items, especially once you move into higher-rarity equipment.

Skill Progression, Specialization, and the Daevanion System

Each class uses the same base skills, but their builds diverge through progression. Skills unlock specializations at levels 8, 12, and 16, so it’s important to prioritize your strongest abilities early.

Passive skills don’t gain special effects, but spreading points evenly before maxing anything can help you avoid overspending. Skill resets are free at early levels, so feel free to experiment.

At level 25, you unlock the Stigma system, which offers powerful extra abilities. Be careful here—resetting Stigma choices becomes expensive as levels rise. Take your time deciding how you want to build your character.

Later on, the Daevanion system opens a large grid of passive bonuses that affect both skills and general stats. This is one of the most complex systems in Aion 2, and it rewards players who complete side quests, since many Daevanion points come from questing. Planning your build calmly is important here, especially if you want to boost specific abilities beyond their normal level cap.

Crafting, the Pantheon System, and Additional Tools

Crafting allows you to create stronger gear or consumables, but it does take time. Just remember that each profession fits certain classes better. Sorcerers won’t get much out of blacksmithing, for example, but alchemy and cooking are universally helpful.

You’ll also unlock the Pantheon, where you can place statues obtained throughout your journey. These give useful buffs depending on what you’ve collected. It’s a simple system but one that adds steady power over time.

As you continue into the later levels, you’ll find more ways to specialize your character and generate rewards. Some players who want to progress faster focus on ways to buy Aion 2 Kinah coins fast, but whether you stick strictly to in-game systems or explore external communities like U4GM is entirely up to your comfort and playstyle.

Aion 2’s early game gives players a lot of freedom, but it also throws a surprising number of systems at you in a short time. The key is pacing yourself: follow the main quest, do side quests when needed, upgrade gear only when stuck, and take advantage of the skill customization tools as they unlock. Once you get the flow down, the journey to level 45 feels much smoother than it first appears.

Trending Now: Aion 2 Cleric Skills & Build Guide

How to Get the Golden Piggy in Grow a Garden

The Golden Piggy is a Mythical-tier pet in Grow a Garden and is widely considered one of the best support pets in the game. Its unique passive ability boosts the experience earned by nearby pets, making it ideal for players who want to speed up pet leveling or maintain a high-efficiency garden layout. With its glowing golden design and strong utility, the Golden Piggy is a prized addition to any player’s collection.

Appearance

Although based on the standard Pig model, the Golden Piggy features several striking visual differences:

  • Shimmering Golden Body – Its entire model is covered in a reflective, metallic golden texture.
  • Enhanced Shine Effect – The Golden Piggy emits a faint golden aura, making it easy to spot even in crowded gardens.
  • Polished Accents – The eyes and nose remain similar to the regular Pig, but slight highlights give them a richer, more polished look.

These cosmetic upgrades emphasize its mythical rarity and make the Golden Piggy visually distinct among other pets.

The Golden Piggy is a mythical companion in Grow a Garden, known for its brilliant golden shine and powerful Gold Hoarder passive. Surrounded by Gold Ingot Cosmetics, it helps all nearby grow a garden pets gain extra XP, making it one of the best support pets for fast leveling. Often crafted from a Silver Piggy and special items like Pizza and a Tanning Mirror, the Golden Piggy stands proudly in the garden, radiating light and boosting every pet within its 30-stud radius.

Trait: Gold Hoarder

The Golden Piggy’s signature ability is called Gold Hoarder. This passive effect makes it especially valuable for gardens focused on pet growth.

Gold Hoarder: How It Works

  • For each Gold Ingot Cosmetic placed in your garden, all pets within the Golden Piggy’s radius gain extra XP per second.
  • The XP applies automatically as long as:
    • The Golden Piggy is placed in your garden, and
    • The affected pets remain within the required distance.

This creates a powerful scaling effect: the more Gold Ingots you place, the stronger the XP bonus becomes.

Optimal Usage Tips

  • Cluster pets around the Golden Piggy to maximize XP gain.
  • Place multiple Gold Ingot Cosmetics near your pets to stack the effect.
  • Pair the Golden Piggy with other XP-enhancing pets ot items for even faster leveling.
  • Keep the Golden Piggy fed—its high hunger stat requires regular maintenance.

How to Obtain the Golden Piggy

The Golden Piggy cannot be found naturally and must be obtained through Crafting. This crafting recipe unlocks once the player owns the necessary ingredients and has access to the correct crafting station.

Crafting Requirements

To craft a Golden Piggy, you will need:

  • 1× Silver Piggy – The base pet required for the upgrade.
  • 1× Pizza – A food item used in the crafting recipe.
  • 1× Tanning Mirror – A cosmetic crafting component often used for reflective or shiny upgrades.
  • 1× Medium Treat – Provides the required bonding material for pet crafting.
  • Craft Time: 45 minutes – The crafting station must remain active for the full duration.

Once the timer completes, the Golden Piggy is delivered directly to your inventory.

Tips for Faster Crafting

  • Start the craft before logging out so you return to a finished pet.
  • Keep multiple crafting stations if you plan to craft other pets simultaneously.
  • Gather all ingredients beforehand to avoid delays.

Trivia

  • Old Recipe Change: Before an update, the Golden Piggy originally required Spaghetti instead of Pizza. This was changed to make the recipe more consistent with other pet crafting lines.
  • Appearance Similarity: The Golden Piggy retains the basic Pig model, leading some players to mistake it for a regular Pig before noticing the shine.
  • Popular Among XP Farmers: Because of its stacking passive, it’s one of the most frequently used pets in leveling-focused gardens.

Golden Piggy Detailed Data Table

CategoryInformation
TierMythical
Obtaining MethodCrafting
Passive AbilityAll nearby pets within 30.00 studs gain +0.10 XP/s for each Gold Ingot Cosmetic
Hunger24,000
Obtainable?Yes
Date AddedNovember 22, 2025

Where Winds Meet Players Share Their Favorite Boosting Tips

Where Winds Meet offers an expansive world for players to explore, filled with engaging combat, complex character development, and a rich narrative. For many, the journey to mastering the game can be both exciting and challenging. However, there’s no shame in wanting a boost to help you reach your goals faster. In this article, we’ll dive into some of the best tips shared by seasoned players on how to take advantage of Where Winds Meet boosting and maximize your experience.

Why Boosting Can Enhance Your Gameplay Experience

Whether you’re a casual player or someone looking to fully immerse yourself in the game, Where Winds Meet boosting has become a go-to method for many. Boosting not only helps players progress faster but also allows them to explore the vast content without the grind. By using various in-game strategies and services, players can focus on their preferred aspects of the game, whether that’s combat, story progression, or mastering a particular skill.

For those who might feel overwhelmed by the sheer amount of content and mechanics in Where Winds Meet, boosting provides a much-needed shortcut. With the right approach, you can progress faster, unlock essential resources, and enjoy the game’s best features without feeling the fatigue of long leveling sessions.

Exploring Where Winds Meet Character Leveling Services

When it comes to advancing in Where Winds Meet, many players opt for Where Winds Meet character leveling services. These services are tailored to help you level up your character efficiently and without the grind. They can be especially helpful for those who don’t have the time or patience to grind through repetitive tasks. By choosing a professional leveling service, you ensure that your character gets the attention it needs to reach maximum potential quickly.

One of the key benefits of these services is that they often include more than just leveling. Many services offer tailored skill upgrades, rare item acquisition, and even in-game gold or currency boosts to help players become top-tier adventurers. These services are particularly popular for players who want to enjoy high-level content and gear without spending countless hours grinding.

Tips for Effective Boosting in Where Winds Meet

Here are a few player-approved tips to get the most out of Where Winds Meet boosting:

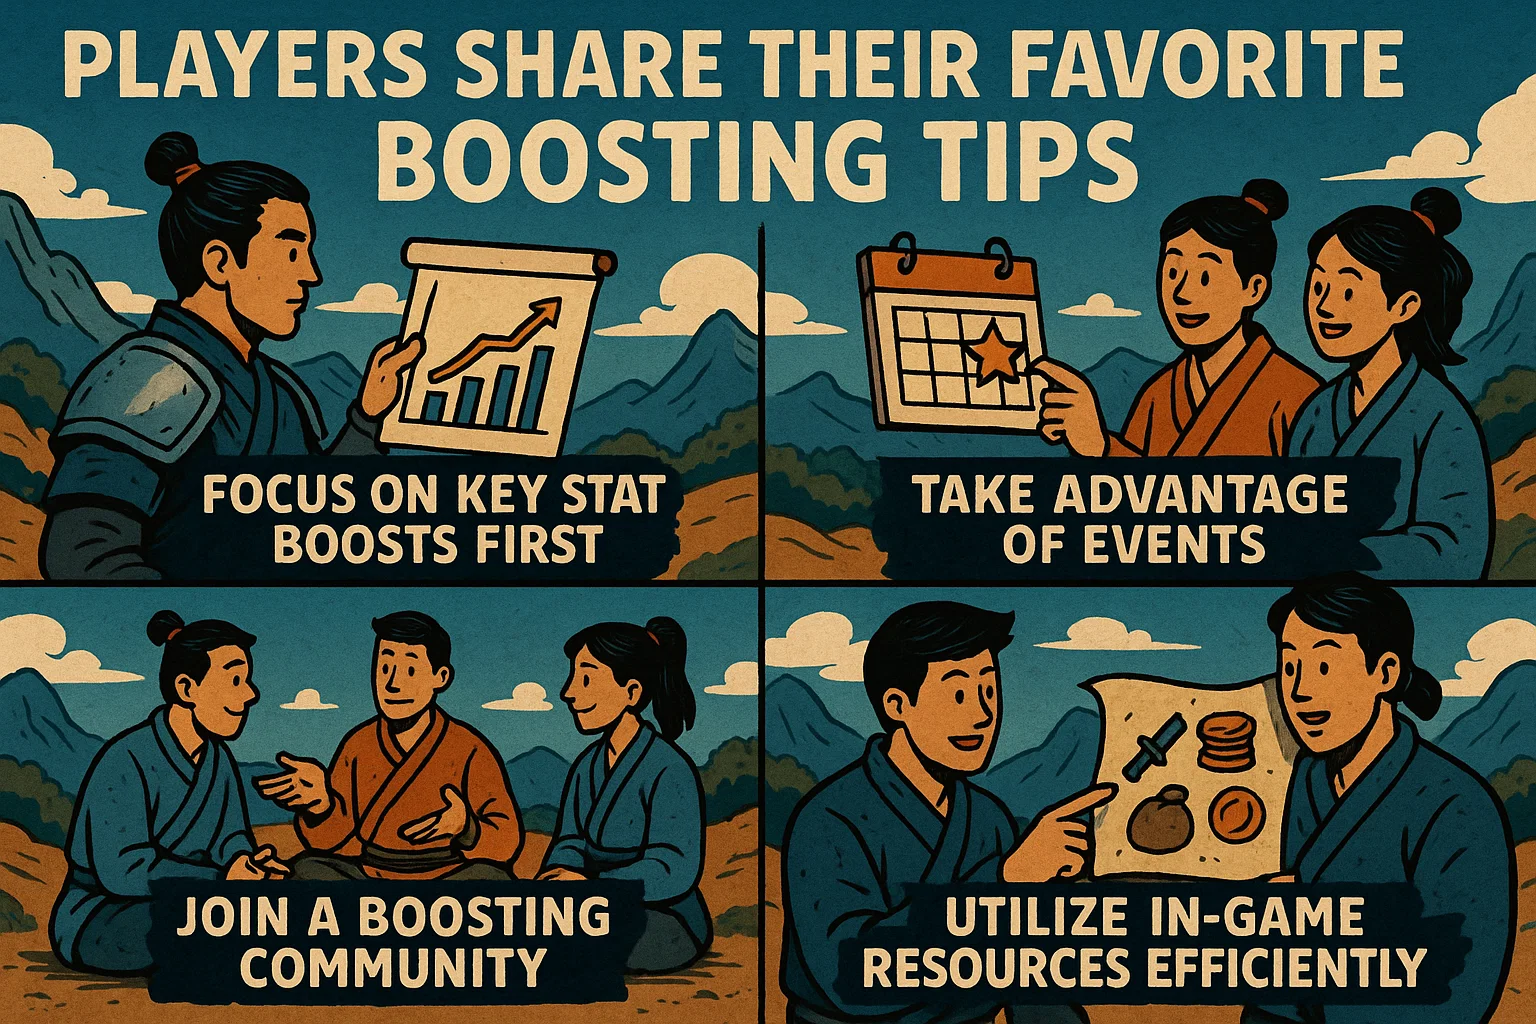
  1. Focus on Key Stat Boosts First
    Whether you’re using a boosting service or boosting on your own, prioritize stats that enhance your gameplay style. For example, if you’re focused on combat, boosting your damage output or defensive capabilities should be your first priority. Tailor your character’s build to fit your preferred playstyle, and always aim for synergies that boost efficiency.
  2. Take Advantage of Events
    Many players recommend taking full advantage of in-game events that offer temporary boosts or rewards. These events often provide opportunities to level up quickly or gather rare resources that can speed up your progress.
  3. Join a Boosting Community
    Engaging with a community of other Where Winds Meet players can give you additional insight into boosting strategies and tips. Many players share their experiences and helpful advice on forums, helping each other to navigate the complexities of the game.
  4. Utilize In-Game Resources Efficiently
    Many aspects of boosting can be handled directly within the game. Make sure you are using in-game tools like potions, buffs, and XP boosters to their full potential. These small additions can have a huge impact on your speed of progression.

Whether you’re using Where Winds Meet boosting for a more streamlined gameplay experience or taking advantage of Where Winds Meet character leveling services to accelerate your journey, it’s clear that these strategies can greatly enhance your time in the game. As with any game, the key is to play in a way that you enjoy and helps you reach your goals without burning out.

Players are always experimenting with new ways to level faster, improve their characters, and conquer the game’s challenges. By combining professional services with smart in-game strategies, you’ll be able to reach your full potential and enjoy all the exciting content that Where Winds Meet has to offer.

Helldivers 2: Best Premium Warbond Items Ranked

Premium Warbonds in Helldivers 2 often spark debates in the community. Some players feel they’re mostly cosmetic additions, while others swear by certain weapons and armor pieces. After spending time testing each tier and comparing their real impact in missions, I’ve put together a straightforward ranking of the best Premium Warbond items worth grabbing. Whether you’re pushing harder difficulties or just trying to fine-tune your loadout, these picks offer some of the clearest value.

Before diving in, keep in mind that Premium Warbonds aren’t mandatory. You can still perform extremely well with standard gear. But if you’re curious about what’s actually worth your Super Credits, this list should help you avoid buyer’s regret.

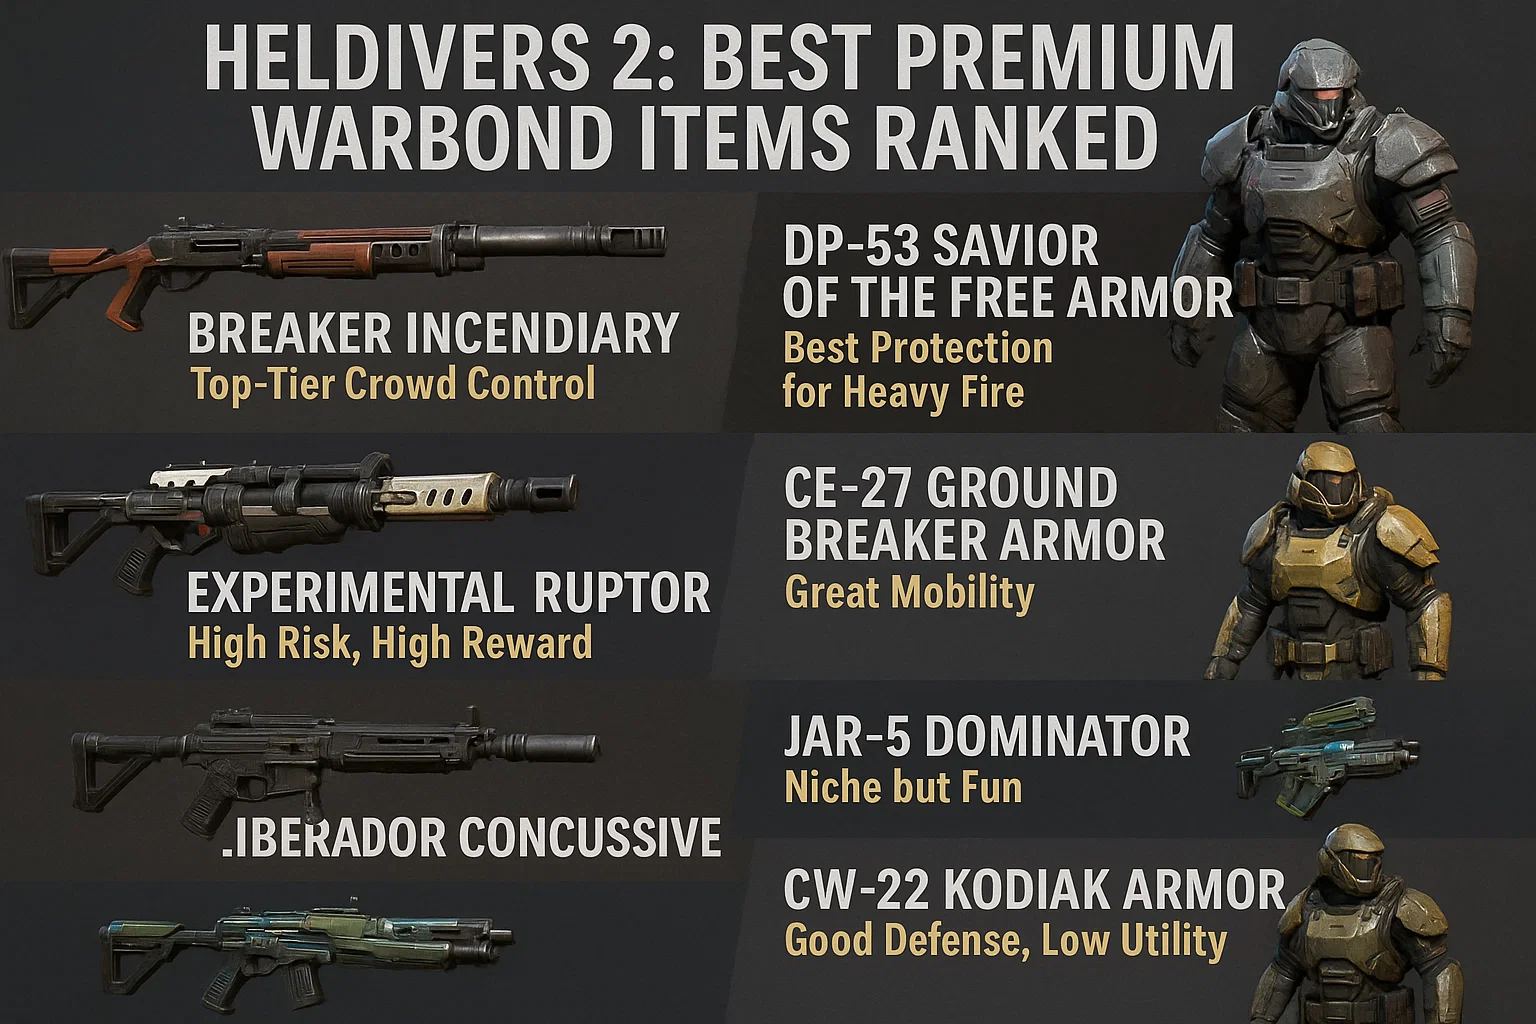
1. Breaker Incendiary – Top-Tier Crowd Control

The Breaker Incendiary has earned its place as one of the strongest Premium Warbond weapons. It’s still the same Breaker at heart, but with burning pellets that chew through mid-tier enemies and help control swarms. The fire damage is incredibly helpful when bugs pile up, especially in late-game missions where space can get tight. One thing to watch out for is friendly fire; the burn effect will absolutely ruin a teammate’s day if you’re careless.

Some players speed up their unlock progress by choosing to buy helldivers 2 medals when they want to rush specific Premium Warbond tiers. You don’t need to do that, but it’s a method some people use if they lack time and want early access to stand-out weapons like this one.

2. DP-53 Savior of the Free Armor – Best Protection for Heavy Fire

If you’ve ever been deleted by a surprise Automaton ambush, you’ll appreciate what this armor set brings. The DP-53 offers one of the best combinations of durability and passive perks, particularly the increased resistance to explosive damage. That extra padding makes a huge difference on higher-level missions, especially when bots start launching rockets every ten seconds.

This is also one of the few Premium sets that feels like a clear upgrade from many standard options. You don’t have to rely on external ways to progress, but players who occasionally buy hd2 items often prioritize armor pieces like this because they remain useful across multiple patches.

3. Experimental Eruptor – High Risk, High Reward

The Experimental Eruptor is one of those weapons that looks wild on paper and feels even wilder in practice. It fires explosive shards that can melt medium enemies and stagger tougher ones. The splash radius, however, demands careful aim. A misfired shot at close range can take you down instantly.

Still, once you get used to its rhythm, it becomes a fun and surprisingly strong alternative to the usual rifles. It shines most on maps with open terrain, where you can safely let the explosives fly.

4. CE-27 Ground Breaker Armor – Great Mobility

The CE-27 is the go-to pick when you want to feel fast without giving up too much protection. Its standout feature is the boost to stamina regeneration, which lets you dodge more often and reposition quickly during chaotic fights. Paired with lightweight weapons, the CE-27 makes you feel agile enough to outrun trouble instead of tanking through it.

I often recommend this armor to new players who want something safe yet flexible. It helps you learn mission flow, dodge patterns, and spawn behavior without punishing you too hard when you misstep.

5. Liberator Concussive – Reliable Utility

Not every Premium Warbond item needs to be flashy. The Liberator Concussive is a solid, dependable rifle that fits into almost any loadout. The concussive rounds offer minor crowd-control benefits, slowing enemies enough to give you breathing room. It doesn’t have the raw power of late-game weapons, but its consistency makes it great for mixed squads where roles aren’t clearly defined.

Players who source enhancements or shortcuts through platforms like U4GM sometimes target versatile guns like this because they complement nearly any build. Even if you switch playstyles often, the Liberator Concussive rarely feels like the wrong choice.

6. JAR-5 Dominator – Niche but Fun

The JAR-5 is not the strongest Premium weapon, but it absolutely has a place. It hits hard, feels impactful, and performs especially well against medium Automaton units. Its biggest weakness is reload time; if you’re caught reloading mid-swarm, you’re done. For players who prefer precision and pacing over run-and-gun shooting, the Dominator offers a satisfying middle ground.

7. CW-22 Kodiak Armor – Good Defense, Low Utility

The Kodiak looks great and soaks a good amount of damage, but its passive perks aren’t as impressive as other Premium sets. It still works fine on moderate difficulties and offers a safer learning curve for new players. However, veterans typically outgrow it once they gain access to better hybrid options with stronger perks.

Premium Warbond items aren’t essential, but they absolutely offer some standout tools that can make your Helldivers 2 experience smoother or simply more fun. Whether you want raw power, mobility, or utility, the list above highlights the gear that delivers the most practical value. Just remember that teamwork and mission knowledge matter far more than any Premium unlock. Even the best rifle can’t save you from a poorly timed stratagem throw.

FAQ

How do you get Premium Warbond items in Helldivers 2? You unlock them by spending Super Credits on Premium Warbonds and then using Medals to progress through the tiers.

Are Premium Warbond items pay-to-win? Not really. Some weapons are strong, but nothing is so powerful that it breaks the game. Standard gear remains fully competitive.

Can Premium Warbond items be traded or gifted? No. All items are account-bound and cannot be traded between players.

Do Premium Warbonds come back after they expire? Usually yes. Arrowhead has already cycled certain Warbonds back into rotation, although timing can be unpredictable.

What’s the fastest way to unlock Premium tiers? Completing missions on higher difficulties gives you more Medals. Some players choose to buy helldivers 2 medals, but it’s completely optional.

Are Premium armor sets better than free ones? Some are. A few Premium sets offer excellent passive perks, but free Warbond armors can also be very strong.

Do Premium weapons get nerfed often? Balance patches happen, but Arrowhead generally avoids making Premium gear drastically weaker unless it’s overperforming.