The Ultimate Star Fruit Experiment in Plants vs Brainrots: How Far Can 1,000 Seeds Take You?

The latest Plants vs Brainrots update has brought an exciting new addition to the game: the Star Fruit Seed. Priced at a whopping 1,099 Robux, it’s currently one of the most expensive and powerful plants in the entire game. In a recent video, a player decided to take this to the extreme—starting a brand-new account with 1,000 Star Fruit Seeds to see just how strong and profitable they could become.

This experiment gives us some deep insight into how the Star Fruit’s rarity, mutation system, and DPS scaling actually work in practice. Here’s everything we learned—and some tips if you’re planning to dive into this new meta.


Understanding the Star Fruit System

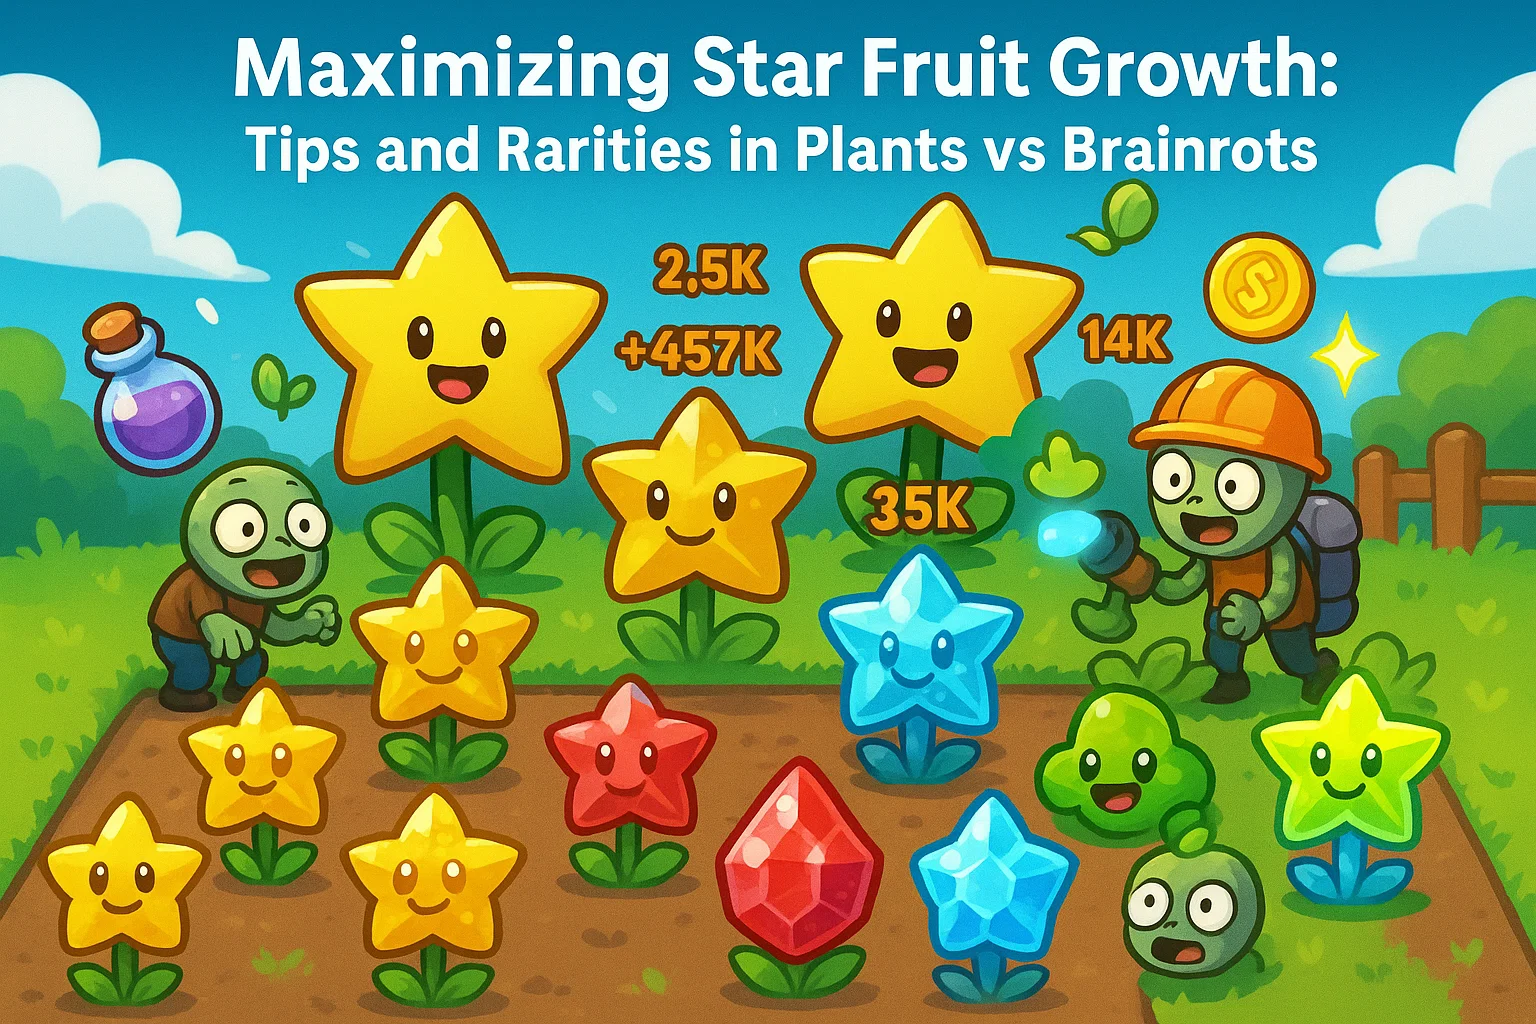
Each Star Fruit seed can evolve into one of several rarities: Normal, Gold, Diamond, Ruby, Neon, and Frozen. The higher the rarity, the stronger the DPS and the more money it generates per second. What’s fascinating is that Star Fruits not only mutate through rarity but also increase in power as they grow larger—a mechanic that rewards patient players.

In the test, the player began by planting five seeds and immediately saw results ranging from 9,000 to over 22,000 DPS, with the Gold Star Fruit standing out. Over time, some of these seeds continued to grow stronger on their own—jumping from 22K to 33K DPS without any special input. This reinforces a key strategy for players: don’t rush to sell or replace your plants too quickly. Some mutations develop naturally over time, and waiting can yield powerful surprises.


Building Momentum and Managing Space

As the experiment continued, opening more planting slots became essential. Each additional lane costs a significant amount of in-game currency, so the player had to balance between upgrading, selling weak plants, and reinvesting in new Star Fruit seeds. Weak plants below 15K DPS were sold off early to make room for stronger ones, allowing more efficient growth cycles.

For newer players, this part of progression can feel slow—but it’s crucial to stay consistent. Keep upgrading lanes, focus on your best-performing Star Fruits, and always equip your strongest Brainrots for maximum income generation.

If you’re trying to push progress faster, consider options available through trusted trading platforms where players can buy Plants Vs Brainrots Plants safely. Just make sure to use verified sources like U4GM, as this ensures that your transactions are both secure and reliable.


Boosting Luck and Experimenting with Potions

The video also showcased the impact of server-wide luck boosts and potions. Using items like the Lucky Potion and Speed Potion can double your chances of high-tier mutations while cutting down wait times. The player went all-in by purchasing global server luck and multiple potions at once, which drastically improved drop rates for rare mutations like Gold and Diamond.

While these potions can be costly, their payoff is significant—especially if you’re trying to chase those rare Frozen or Neon variants. Combining potion boosts with rebirth bonuses (which add permanent luck multipliers) creates a loop where each cycle becomes more profitable than the last.

If you need access to special items or in-game consumables, you can buy Plants Vs Brainrots items through community marketplaces. Again, using verified trading platforms like U4GM helps ensure fairness and avoids the risks of scams or unreliable trades.


Discovering Rare Mutations: Diamond, Ruby, and Beyond

One of the biggest highlights of the run was the discovery of a Diamond Star Fruit with over 108,000 DPS—double the damage of the next strongest fruit. Later in the session, the player also obtained a Ruby variant dealing around 61,000 DPS, confirming that each rarity tier delivers distinct performance levels.

Interestingly, even though the Frozen mutation was never achieved in this run, the Diamond’s power alone proved game-changing. With 1,000 seeds still available, the player continued experimenting, gradually replacing weaker plants with stronger ones and optimizing the battlefield like a strategic chessboard—keeping high-damage units at the back for better coverage.

For players chasing rare mutations, patience is the real key. It may take hundreds of seeds before you see a Diamond or Ruby variant, but the payoff in both visual appeal and combat power is absolutely worth it.


Rebirth Strategy and Scaling Up

Rebirthing in Plants vs Brainrots resets your progress but increases your luck multiplier, allowing you to get rare seeds more often in future runs. In this test, by the second rebirth, the player’s luck multiplier reached 9.1x, drastically improving mutation outcomes.

The key takeaway here is that rebirths are long-term investments. Don’t rush your first few rebirths—wait until your income is stable and your Star Fruits are performing efficiently. Each rebirth after that point compounds your advantages, creating a loop of faster growth and stronger plants.


This 1,000 Star Fruit experiment shows just how deep Plants vs Brainrots can get when you dive into its growth and mutation systems. The combination of rarity, mutation scaling, and rebirth mechanics makes for a surprisingly strategic and rewarding experience. Whether you’re experimenting for fun or optimizing for DPS, the Star Fruit is a game-changer that redefines late-game progression.

If you’re planning to jump into this update, focus on efficiency: prioritize your strongest plants, use potions wisely, and plan your rebirths strategically. With enough patience—and maybe a bit of luck—you could grow your own 100K+ DPS Diamond Star Fruit too.
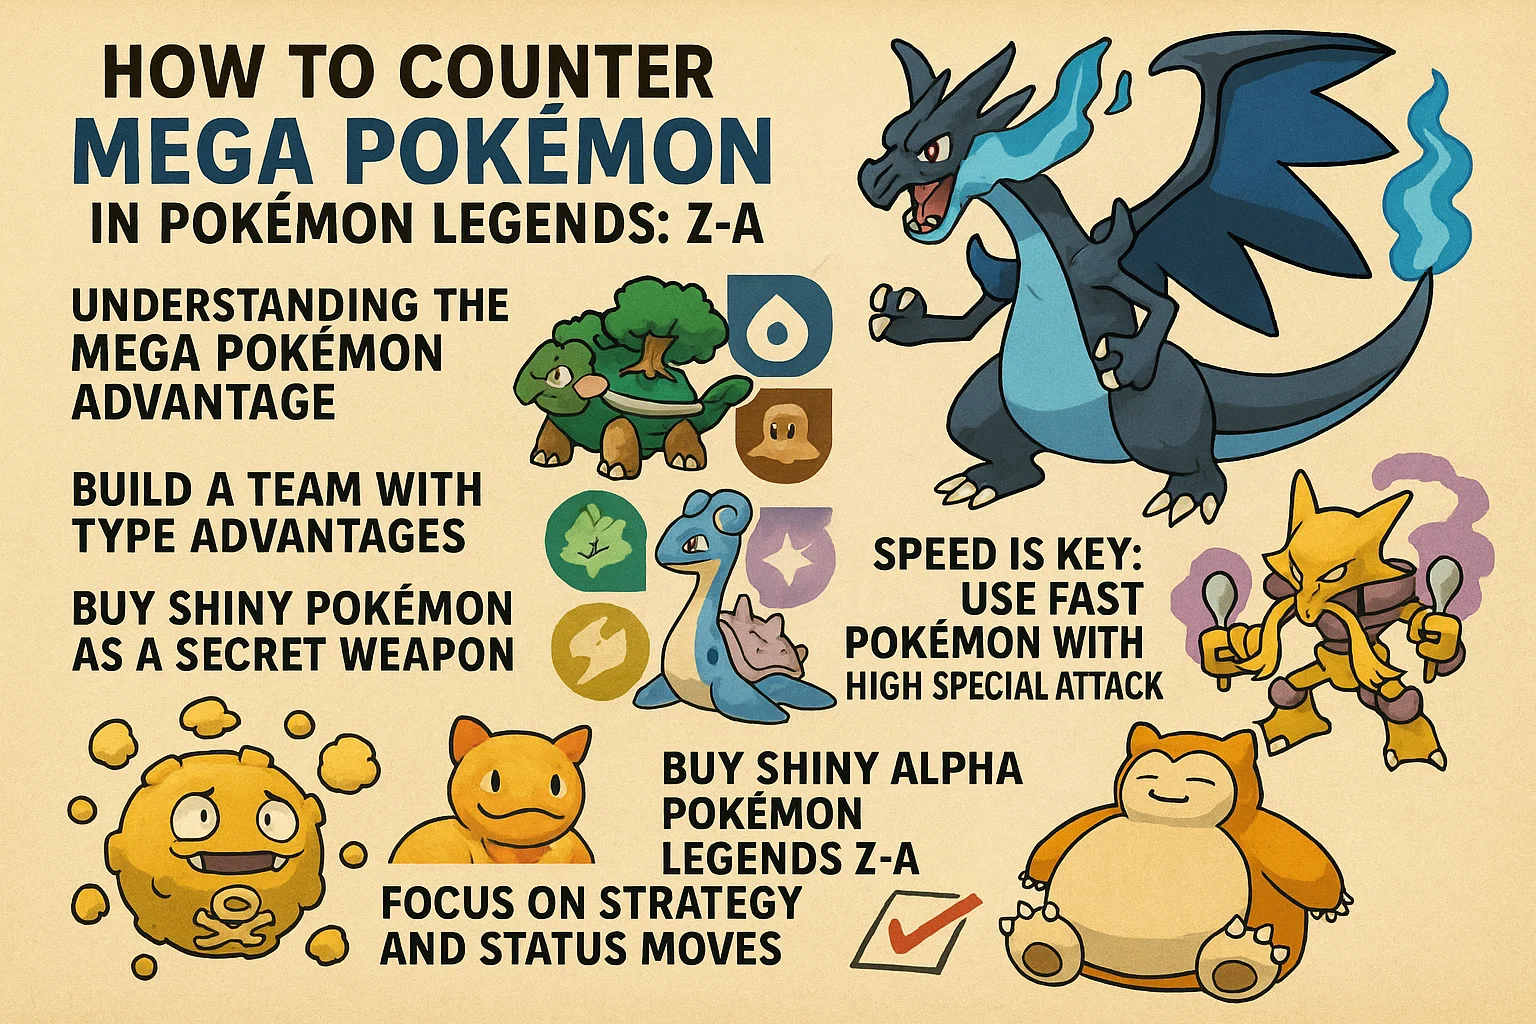

How to Counter Mega Pokémon in Pokémon Legends: Z-A

In Pokémon Legends: Z-A, Mega Pokémon are formidable opponents, often packing a punch with their enhanced stats, powerful moves, and overwhelming presence on the battlefield. Whether you’re facing these mega-evolved creatures in battles or as part of a strategic raid, knowing how to counter them is essential for success. In this guide, we’ll walk you through effective strategies to take on Mega Pokémon and share some helpful tips, including how to buy shiny Pokémon and where to buy shiny alpha Pokémon Legends Z-A, which can be a powerful asset when preparing for these tough encounters.

Understanding the Mega Pokémon Advantage

Before diving into counter strategies, it’s important to understand what makes Mega Pokémon so dangerous. Their ability to Mega Evolve mid-battle allows them to gain a significant power boost, often making them much stronger than their regular forms. These Pokémon can also access moves that are typically unavailable to them, further enhancing their threat level.

The best way to counter Mega Pokémon is to rely on both your Pokémon’s type advantages and your ability to predict your opponent’s moves. Building a balanced team with diverse types is crucial for dealing with the wide array of Mega Evolutions you’ll encounter.

Build a Team with Type Advantages

Mega Pokémon come in various types, and each type has its own strengths and weaknesses. Knowing these is key to turning the tide of battle in your favor. For example, if you’re up against a Mega Charizard X (Fire/Dragon type), Water, Rock, and Dragon-type moves will be your best bet for dealing massive damage.

Incorporating Pokémon with high defense or resistance to certain Mega types is also important. Consider using bulky Pokémon that can absorb hits from powerful Mega Evolutions while you slowly wear down their HP.

Speed is Key: Use Fast Pokémon with High Special Attack

One of the key strategies for handling Mega Pokémon is to be faster and hit harder. Many Mega Evolutions rely on brute force, so using fast Pokémon with high special attack stats will help you land powerful hits before they have a chance to strike.

For instance, a fast Electric-type like Raikou or Zapdos can out-speed many Mega Water- or Flying-types, while hitting hard with Electric-type moves like Thunderbolt or Wild Charge. On the other hand, a fast Psychic-type Pokémon such as Alakazam can take down Mega Fighting or Poison-types with its high special attack.

Buy Shiny Pokémon as a Secret Weapon

While battling Mega Pokémon, having access to shiny Pokémon can give you a distinct advantage, especially when you have rare shiny variations with enhanced stats. Shiny Pokémon often come with unique move sets, boosting their effectiveness in battle. If you’re looking to bolster your roster with high-quality shiny Pokémon, you can buy shiny Pokémon from trusted sources. These can be added to your team to help you prepare for the tough battles ahead, especially against Mega Pokémon.

Buy Shiny Alpha Pokémon Legends Z-A

Another great option when preparing to face Mega Pokémon is purchasing shiny alpha Pokémon in Pokémon Legends: Z-A. Alpha Pokémon have higher stats than regular ones and often come with superior abilities, making them excellent for countering Mega Evolutions. Shiny alpha Pokémon, in particular, not only offer aesthetic appeal but also pack an extra punch in combat. By acquiring these powerhouse Pokémon, you can create an even stronger team, ready to handle the challenges posed by Mega Pokémon in the game.

Focus on Strategy and Status Moves

When all else fails, don’t forget the power of status moves. Moves like Thunder Wave or Will-O-Wisp can cripple Mega Pokémon by lowering their speed or attack power. A paralyzed or burned Mega Pokémon becomes much easier to manage, and you’ll have more time to hit them with powerful counters. These status effects are a great way to level the playing field, especially if you’re facing a particularly tough Mega Pokémon.

Taking on Mega Pokémon in Pokémon Legends: Z-A requires a combination of type knowledge, strategy, and preparation. With the right team composition and the ability to predict your opponent’s moves, you’ll be well-equipped to take down these powerful foes. Don’t underestimate the importance of using shiny Pokémon and shiny alpha Pokémon to give yourself an edge, especially when dealing with tougher Mega Evolutions. Be sure to balance your offensive and defensive strategies, and always keep a backup plan ready when you’re facing these overwhelming powerhouses. Good luck, Trainer!

How to Get the Oxpecker in Grow a Garden

The Oxpecker is a limited pet introduced during the Safari Harvest Event in Grow a Garden. This unique bird helps boost the cooldown efficiency of other Safari-type pets, making it a valuable companion for collectors and competitive players alike.

Appearance

The Oxpecker is a small black bird with a yellow-tinted lower body and a bright red-and-yellow beak, inspired by real oxpeckers found in the African savannas.

If you’re looking to expand your collection beyond the Safari Event, don’t forget to buy GAG pets in the shop! These pets, along with the Oxpecker, can help you build a stronger and more diverse garden team. Whether you’re collecting for fun or strategy, every new pet brings unique abilities that make Grow a Garden even more exciting.

General Information

TierCommon
Obtained FromSafari Egg
EventSafari Harvest
PriceUnknown
PassiveWhen Safari-type pets finish their abilities, they start their cooldown 15 seconds faster
HungerUnknown
Obtainable?Yes
Date AddedNovember 1st, 2025

Oxpecker Pet Abilities and Passives

TypeTraitEffect
Normal OxpeckerSafari SupportWhen Safari-type pets finish their abilities, they begin their next cooldown 14–30 seconds faster.
Rainbow OxpeckerRainbow Safari SupportSafari-type pets begin their next cooldown 24–50 seconds faster after finishing their abilities.

How to Get the Oxpecker Pet

To unlock the Oxpecker pet, you must hatch a Safari Egg. There are two main methods to obtain this egg:

  1. Safari Harvest Rewards
    • Submit 500 points worth of fruits during the event.
    • Rewards:
      • 4.23% chance to receive one Safari Egg
      • 0.85% chance to receive three Safari Eggs
  2. Safari Shop Purchase
    • Requires unlocking 125 million Safari milestones.
    • You can buy the Safari Egg for either:
      • 30,000,000 Sheckles, or
      • 149 Robux (if not currently in stock)

Once you have obtained the egg, place it in your garden and wait for it to hatch. The hatching time is approximately 4 hours and 10 minutes.

The Oxpecker is a small but mighty addition to the Safari collection. With its cooldown-reducing passive, it’s ideal for players focusing on efficiency and synergy between Safari-type pets.

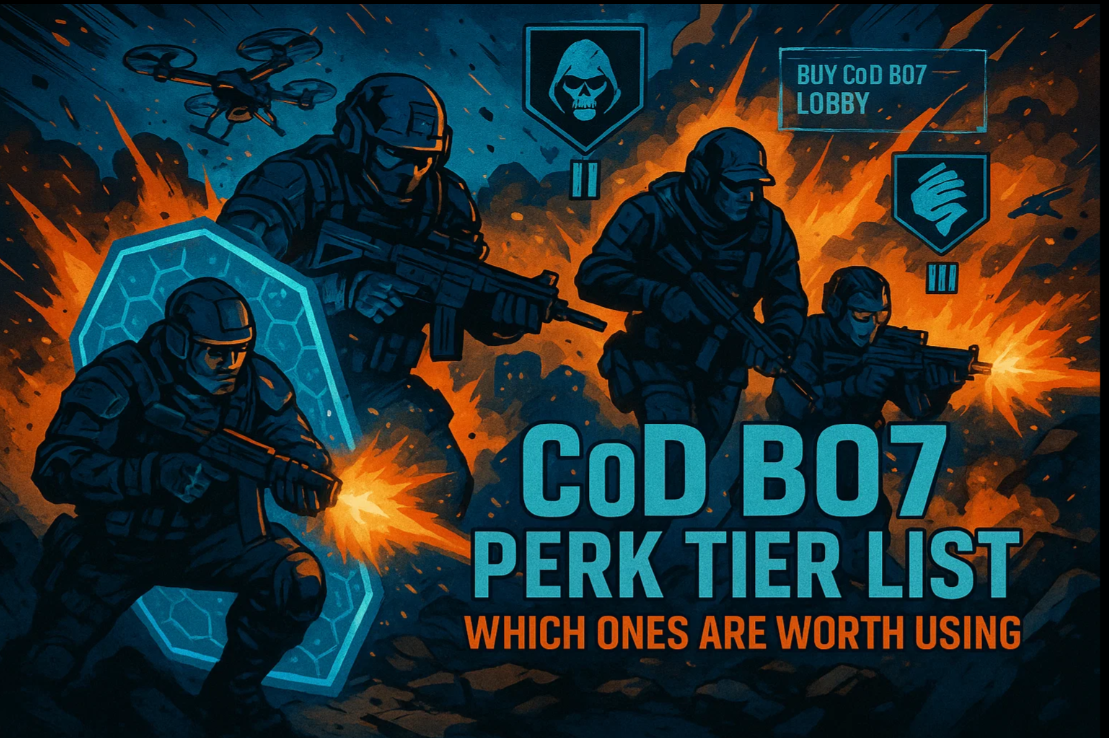
CoD BO7 Perk Tier List: Which Ones Are Worth Using

Call of Duty: Black Ops 7 (CoD BO7) has finally arrived, and with it comes a wide variety of perks that can drastically alter your gameplay experience. Whether you are a seasoned veteran or a newcomer eager to buy CoD BO7 lobby, knowing which perks are worth using can give you a significant edge. In this guide, we break down the top perks, categorize them by tiers, and explain when and why to use them.

In the end, mastering the right perk setup is only part of the journey toward dominating the battlefield in Call of Duty: Black Ops 7. To truly experience the game’s competitive depth, many players choose to buy CoD BO7 lobby sessions to test advanced strategies, refine their loadouts, and compete against skilled opponents in a controlled environment. Whether you’re experimenting with new perk combinations or fine-tuning your aim, joining a dedicated lobby can help you push your limits, gain experience faster, and rise through the ranks with confidence.

Understanding Perks in CoD BO7

Perks in CoD BO7 are special abilities that enhance your character’s skills, from faster reloads to improved mobility and reduced explosive damage. Choosing the right perks is not only about personal preference but also about matching your playstyle to your team strategy.

Perks are generally divided into three tiers:

  • Tier 1: Perks that provide basic enhancements such as faster movement or reduced explosive damage.
  • Tier 2: More specialized perks that improve your combat efficiency and survivability.
  • Tier 3: Advanced perks that can completely change your playstyle, often offering tactical advantages in multiplayer matches.

Tier 1 Perks: Essential Basics

1. Scavenger

Scavenger is invaluable for players who prefer extended firefights. This perk allows you to resupply ammo from fallen enemies, ensuring that you never run out during crucial moments.

Why use it:

  • Great for aggressive players in objective modes.
  • Helps sustain gunfights without constantly searching for ammo boxes.

2. Flak Jacket

Flak Jacket reduces explosive damage, making it perfect for dealing with grenades, claymores, and rocket launchers.

Why use it:

  • Essential for defensive players in objective-based modes.
  • Combines well with perks that increase mobility or health regeneration.

Tier 2 Perks: Combat Enhancers

1. Ghost

Ghost makes you invisible to enemy UAVs, radar, and other tracking tools. This perk is ideal for stealth-oriented players.

Why use it:

  • Helps flank enemies without being spotted.
  • Works well in maps with heavy UAV use.

2. Fast Hands

Fast Hands allows quicker weapon swaps, reloads, and equipment usage. For fast-paced gameplay, this perk is a must-have.

Why use it:

  • Perfect for close-quarters combat and aggressive playstyles.
  • Combines effectively with SMGs or shotguns.

Tier 3 Perks: Game-Changers

1. Overkill

Overkill lets you carry two primary weapons, giving you unmatched versatility in combat.

Why use it:

  • Provides flexibility for long-range and close-range engagements.
  • Essential for players who want to dominate all areas of the map.

2. Amped

Amped increases weapon swap speed and launcher reloads, allowing rapid transitions in chaotic firefights.

Why use it:

  • Useful for players who frequently switch between weapons and equipment.
  • A critical perk for competitive matches and when you buy CoD BO7 lobby to practice advanced strategies.

How to Combine Perks for Maximum Effect

Choosing perks is not just about individual strength; synergy is key. Here are a few recommended combinations:

  • Aggressive Assault Combo: Scavenger + Fast Hands + Overkill
  • Stealth Specialist Combo: Ghost + Flak Jacket + Amped
  • Objective Dominator Combo: Flak Jacket + Scavenger + Ghost

These combinations ensure that you are prepared for multiple scenarios, from tight corners to large-scale map battles.

Final Thoughts

Knowing which perks to equip in CoD BO7 can make the difference between winning and losing. Tier 1 perks provide essential survival boosts, Tier 2 perks enhance combat effectiveness, and Tier 3 perks offer tactical advantages that can shift the tide of battle.

Whether you are jumping into a casual game or looking to buy CoD BO7 lobby for competitive practice, optimizing your perk loadout is crucial. Experiment with different combinations and find the ones that suit your playstyle best.

Master Every Kill: How to Dominate Team Deathmatch in Call of Duty: Black Ops 7

Team Deathmatch (TDM) in Call of Duty: Black Ops 7 (BO7) is one of the most competitive and fast-paced multiplayer modes in the entire franchise. Whether you’re grinding for weapon mastery, improving your kill/death ratio, or simply trying to outperform your friends, mastering TDM requires strategy, precision, and awareness. In this comprehensive guide, we’ll break down the best tactics, weapon loadouts, and map strategies to help you dominate every match. We’ll also cover how experienced players use tools like buy BO7 bot lobbies to sharpen their skills before jumping into real competitive play.

To take your training even further, consider setting up customized practice environments before diving into ranked or public matches. Many competitive players choose to buy CoD BO7 lobby access, which allows them to refine their weapon control, perfect movement routes, and test advanced strategies without the unpredictability of live opponents. These lobbies are ideal for mastering recoil control, learning map timings, and experimenting with new loadouts in a controlled setting. By combining disciplined practice with tactical insight, you’ll not only boost your confidence but also transform every Team Deathmatch into an opportunity to dominate the battlefield.

1. Understanding the Core Objective

Unlike objective-based modes such as Domination or Search and Destroy, Team Deathmatch has one simple rule: the team with the most kills wins. This simplicity, however, makes it one of the toughest modes to consistently perform well in. Every mistake you make directly impacts your team’s score, so situational awareness and smart positioning are key.

Key Tip: Avoid charging into open areas or corners blindly. Instead, anticipate enemy movement by learning common spawn points and choke zones. BO7 maps are designed with symmetrical layouts, which makes predicting spawns easier once you understand how teams rotate.

2. Choosing the Perfect Loadout

A great player is only as good as their weapon setup. In BO7, weapon balance emphasizes versatility — assault rifles and submachine guns dominate most engagements.

Recommended Loadout Setup:

  • Primary Weapon: Krig 6 (AR) or MP7 (SMG)
    • Attachments: Red Dot Sight, Extended Mags, and Vertical Grip for better control.
  • Secondary Weapon: G17 Pistol — reliable for close combat when your primary runs dry.
  • Perks:
    • Flak Jacket (survive explosives)
    • Ghost (stay off UAVs)
    • Ninja (move silently)
  • Field Upgrade: Trophy System or Jammer depending on your playstyle.

Experiment with different combinations in private matches or buy BO7 bot lobbies to safely test new setups and improve your aim against AI-controlled players without affecting your stats.

3. Map Awareness and Positioning

Each map in Call of Duty: BO7 offers unique sightlines, elevation points, and ambush zones. Mastering the layout is as crucial as having good aim.

Small Maps (e.g., Shipment Redux, Nuketown 2045):

  • Stick to the edges of the map and avoid the center where chaos reigns.
  • Use grenades and stun equipment to flush out campers.
  • Keep moving — standing still makes you an easy target.

Medium to Large Maps (e.g., Satellite Outpost, Urban Ruins):

  • Hold down power positions that overlook key lanes.
  • Use long-range weapons like the AUG or tactical rifles.
  • Communicate with teammates to lock down areas and predict enemy spawns.

Practicing these patterns in BO7 bot lobbies can help you memorize angles and improve reaction time before entering public matches.

4. Maximizing Killstreak Efficiency

Killstreaks can single-handedly change the course of a TDM match. However, wasting them at the wrong time can be a huge mistake.

Tips for Effective Killstreak Use:

  • UAVs should be deployed early to build team momentum.
  • Attack Choppers and Cruise Missiles work best when enemies cluster.
  • Always wait until your team controls the map before using high-impact streaks.

To master streak timing, many pro players first buy BO7 bot lobbies to simulate real combat flow. Practicing with bots allows you to test killstreak rotations and see which ones fit your playstyle best.

5. Team Coordination and Communication

Even in public matches without voice chat, teamwork wins games. Watch your minimap — your teammates’ positions tell you where enemies are likely to be. When possible, run in pairs or groups of three to cover more ground and trade kills effectively.

Pro Tip: Always let your teammates draw attention while you flank. This tactic leads to cleaner engagements and higher survival rates.

6. Mental Game and Momentum

Confidence and consistency are often what separates good players from great ones. Don’t get tilted after a few bad deaths — focus on small victories like holding your lane, securing killstreaks, or breaking enemy spawns. Every match is an opportunity to refine your instincts.

A smart way to build this confidence is by training in BO7 bot lobbies before matchmaking. This lets you warm up, learn recoil patterns, and sharpen reflexes without pressure.

7. Final Thoughts

To truly dominate Team Deathmatch in Call of Duty: Black Ops 7, you must blend smart tactics, sharp aim, and map intelligence. Use every tool at your disposal — from custom loadouts and coordinated teamwork to practice environments like buy BO7 bot lobbies — to gain an edge over the competition. With dedication and strategy, you’ll not only top the scoreboard but lead your team to victory match after match.